

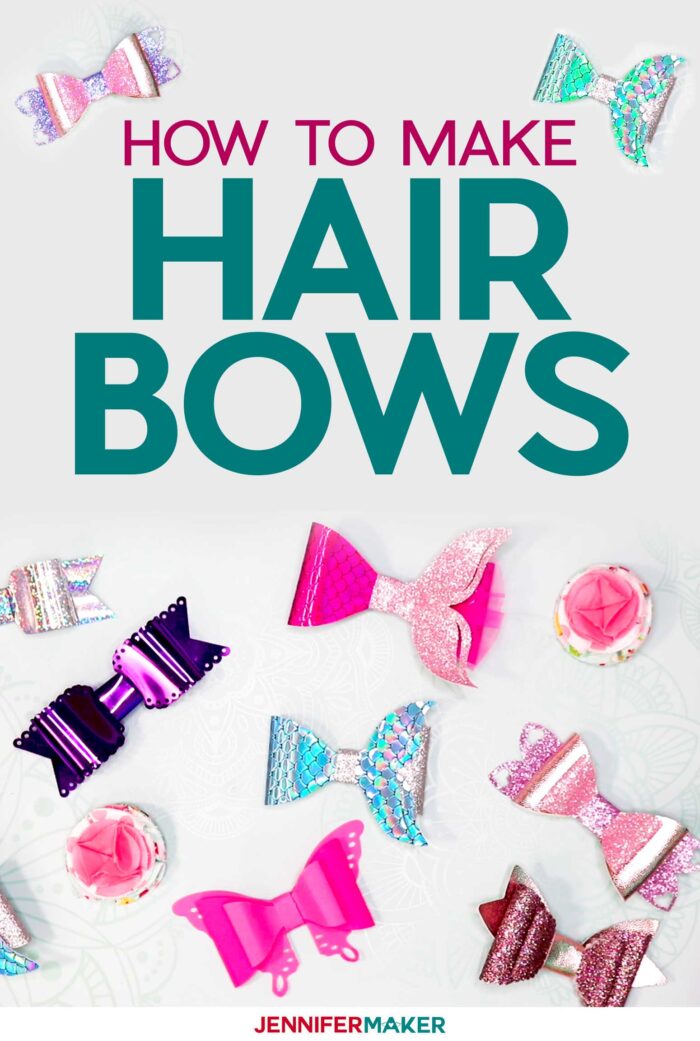
How To Make Window Clings Stick Again
Acquire how to make hair bows with pretty flairs, similar mermaid tails, butterfly wings, and hearts! You lot tin can make these pretty pilus bows with cardstock, imitation leather, party foil, or textile, and we'll show you how.
Did you know you can brand your own pilus bows? And not just any hair bows — you lot can make fun and unique hair bows, like bows with mermaid tails, angel wings, and scalloped edges. Or even some cute cloth flower bows that look like flowers. You can use cardstock, faux leather, party foil, or fabric! These pilus bows are simple to make and you can do it in just FOUR easy steps … allow the states show yous how! You can make hair bows as part of our Arrive Like shooting fish in a barrel Craftalong Challenge, filled with fun and Piece of cake daily themed projects! 
Spotter the total pace-by-step tutorial on how to make hair bows with your Cricut!
Tip: If you adopt to lookout the "live" version with questions and answers at the end (information technology'southward an hour long, vs the edited one above which is 30 minutes), check out this live craftalong session here!
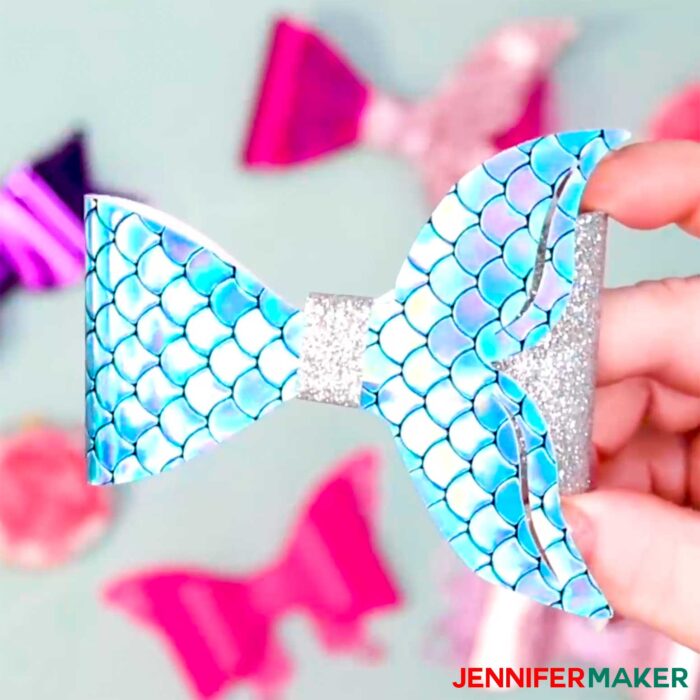
Here are photos of the super cute hair bows you can make — this is a mermaid tail pilus bow:
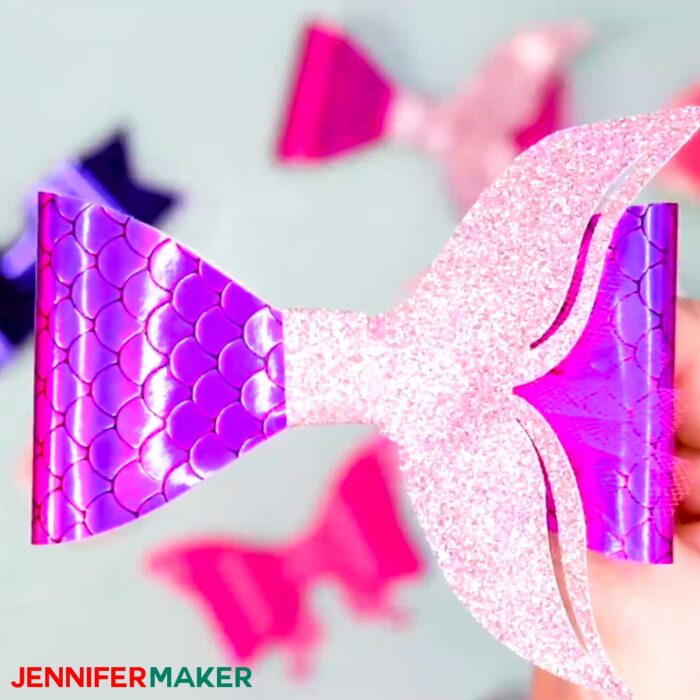
Here'southward another mermaid tail bow with some pinkish tulle:
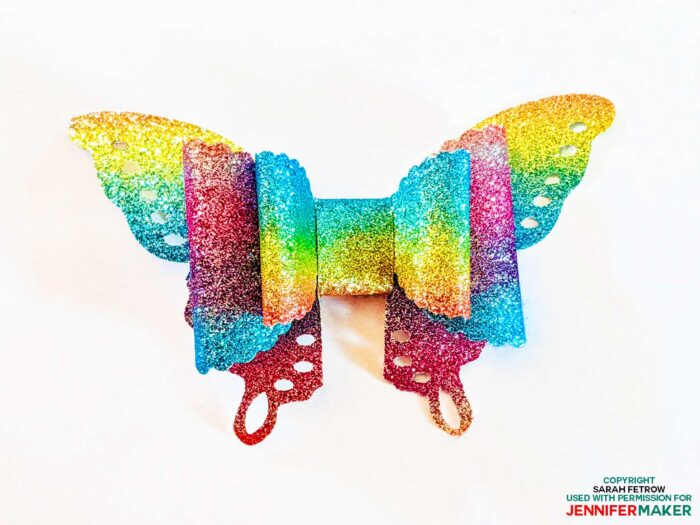
Here's a lovely rainbow butterfly hair bow made by reader Sarah Fetrow:
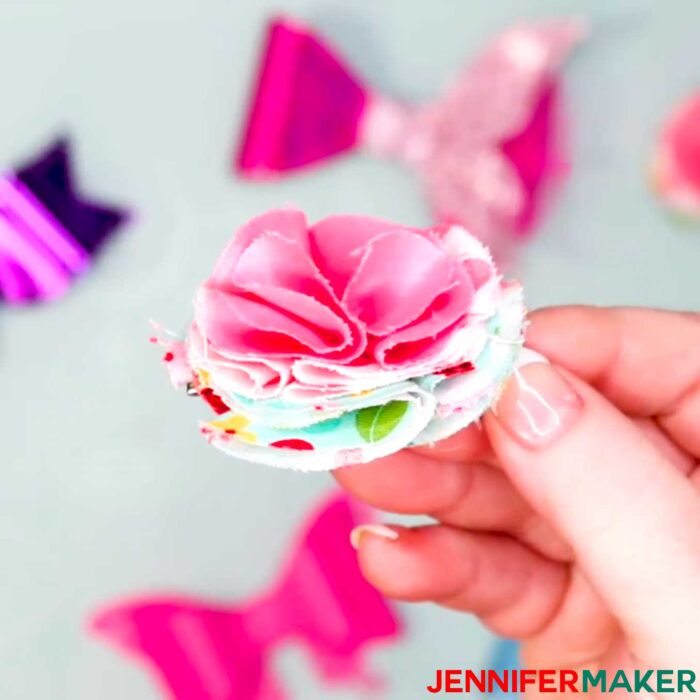
This is a pretty material rosette pilus prune:
Ready to make hair bows in your favorite colors? Let me show you how! This post contains some affiliate links for your convenience (which means if you make a buy after clicking a link I will earn a modest commission simply it won't toll yous a penny more than)! Read my full disclosure policy.
What Y'all Demand to Make Hair Bows
View my Amazon shopping list with the exact items we used to make this project!
- Cardstock, faux leather, political party foil, or fabric (see specific suggestions later in this tutorial!)
- Pilus clips
- Hot glue or E6000 glue
- A way to cut your pilus bows (I used the Cricut Maker cutting machine and Cricut Explore, simply y'all tin can also cut these with scissors or a craft pocketknife)
- Blueprint #194 – My free SVG blueprint files (available in my free resource library—get the password by filling out the form at the bottom of this page)
Instructions
Step 1: Get my Fun Hair Bow Designs and Patterns
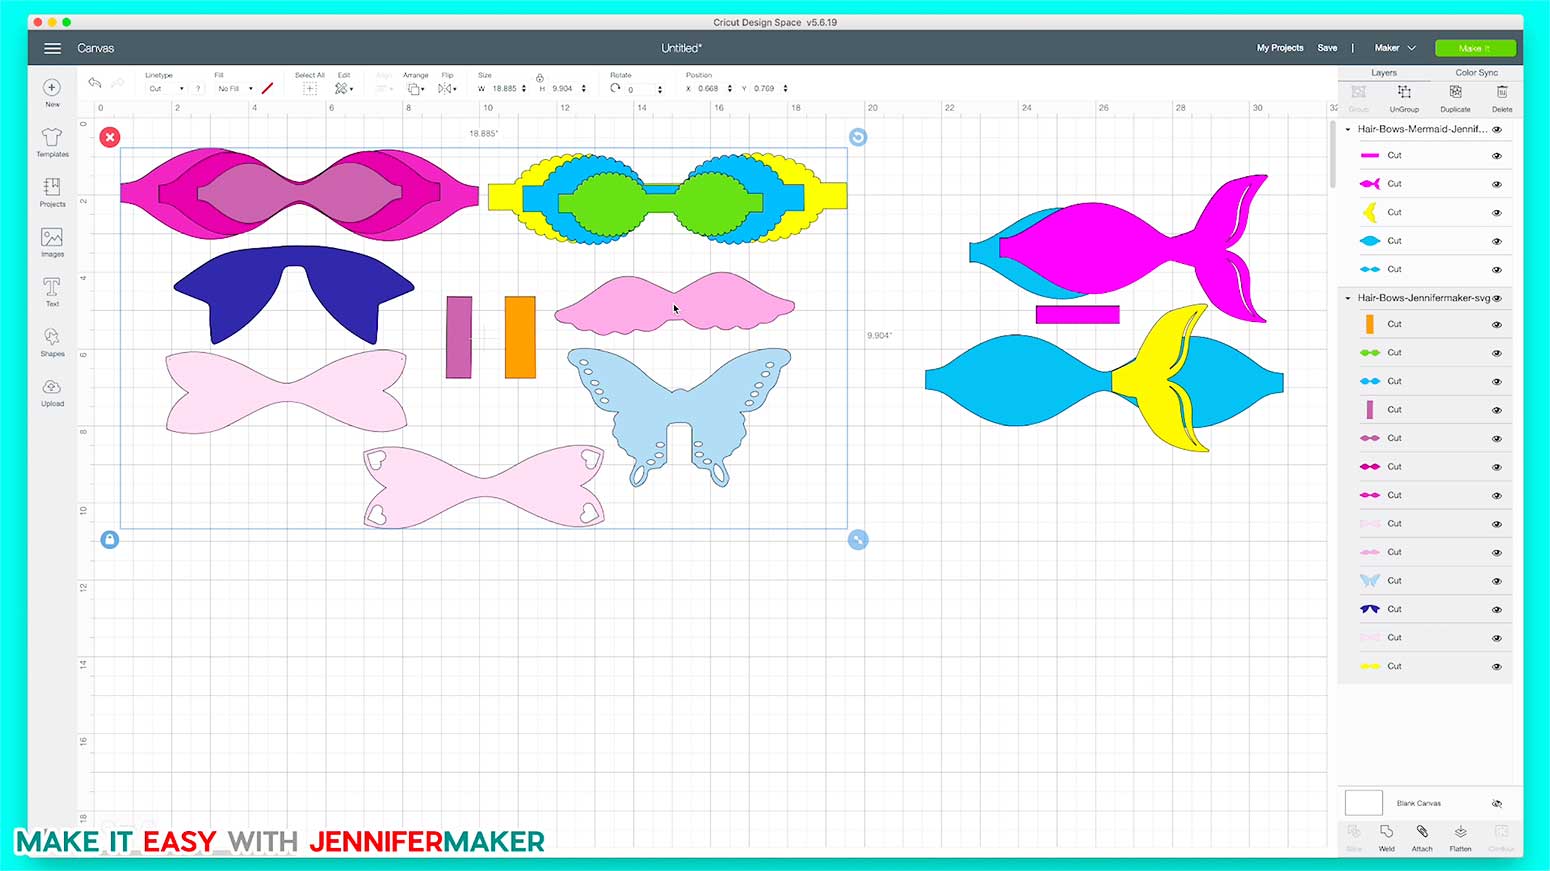
Y'all can get my piece of cake hair bow design files (Design #194) complimentary from my complimentary resource library Here's what my hair bow cut file will look like when you lot upload information technology to Cricut Pattern Space:
Tip: If you're not sure how to upload an SVG cutting file to Cricut Blueprint Space, watch this helpful video grooming series I made. If you're on an iPhone or iPad, hither'due south how to download and upload SVG files to the Cricut Pattern Infinite app.
Once y'all have decided what pattern y'all want to cut, delete the rest of the designs or hide them. The hair bow elements in the files are sized in various sizes.
Pilus bows vary in size based on the size of the person who will be wearing them. If uncertain of what size to make your bows, creating a test bow with card stock will aid with avoiding wasting material.
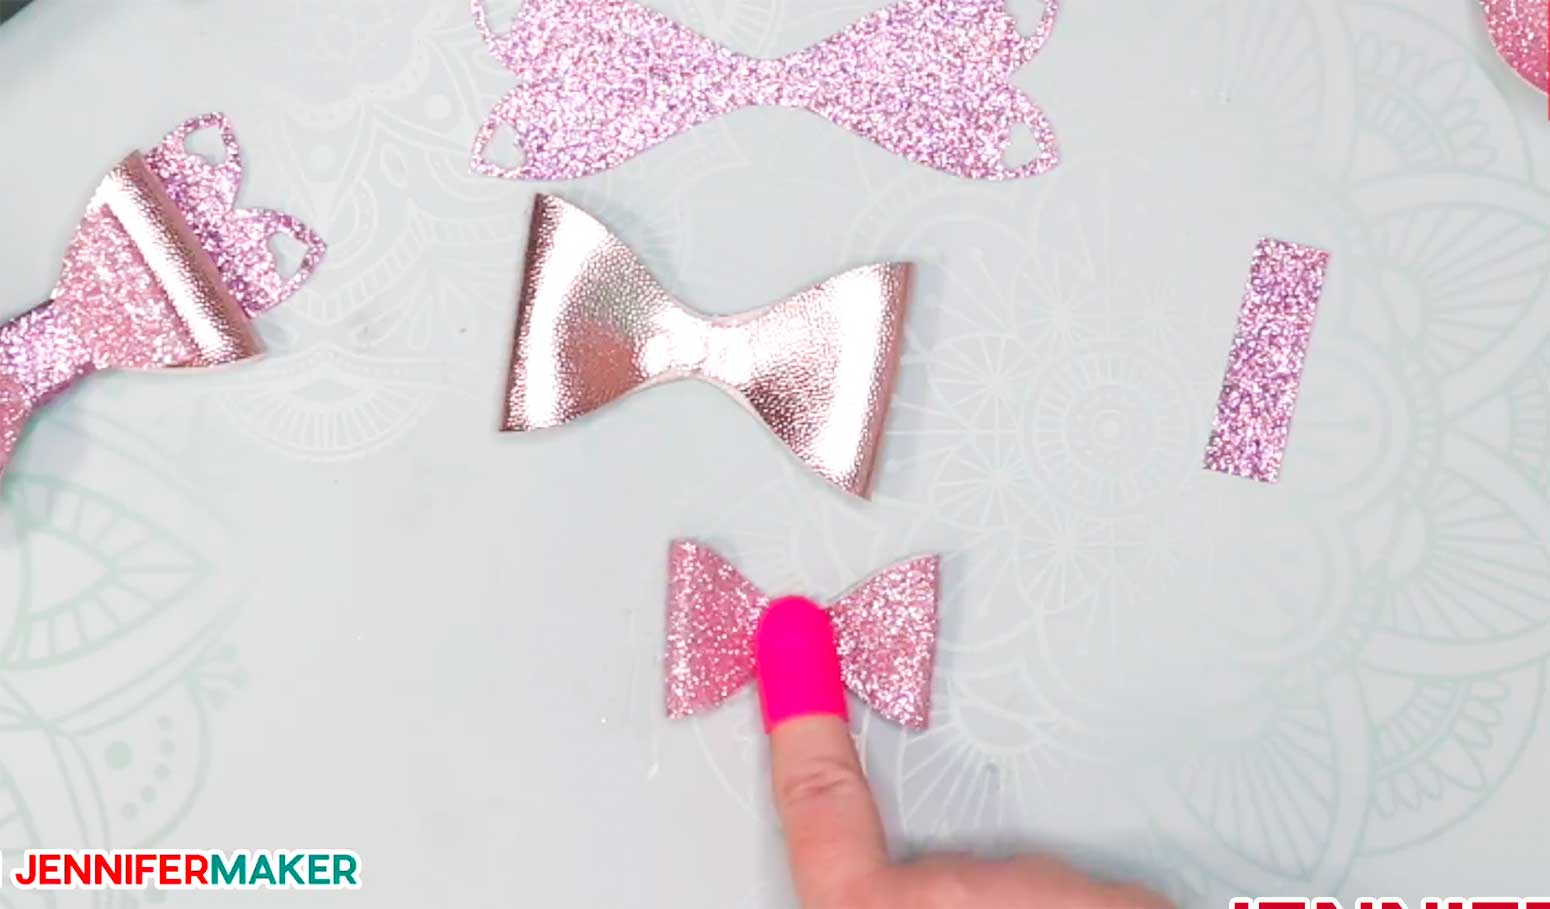
Step 2: Cutting Out Your Hair Bows
Once y'all've decided what size to make your hair bows, put the desired cloth on the mat for cutting.
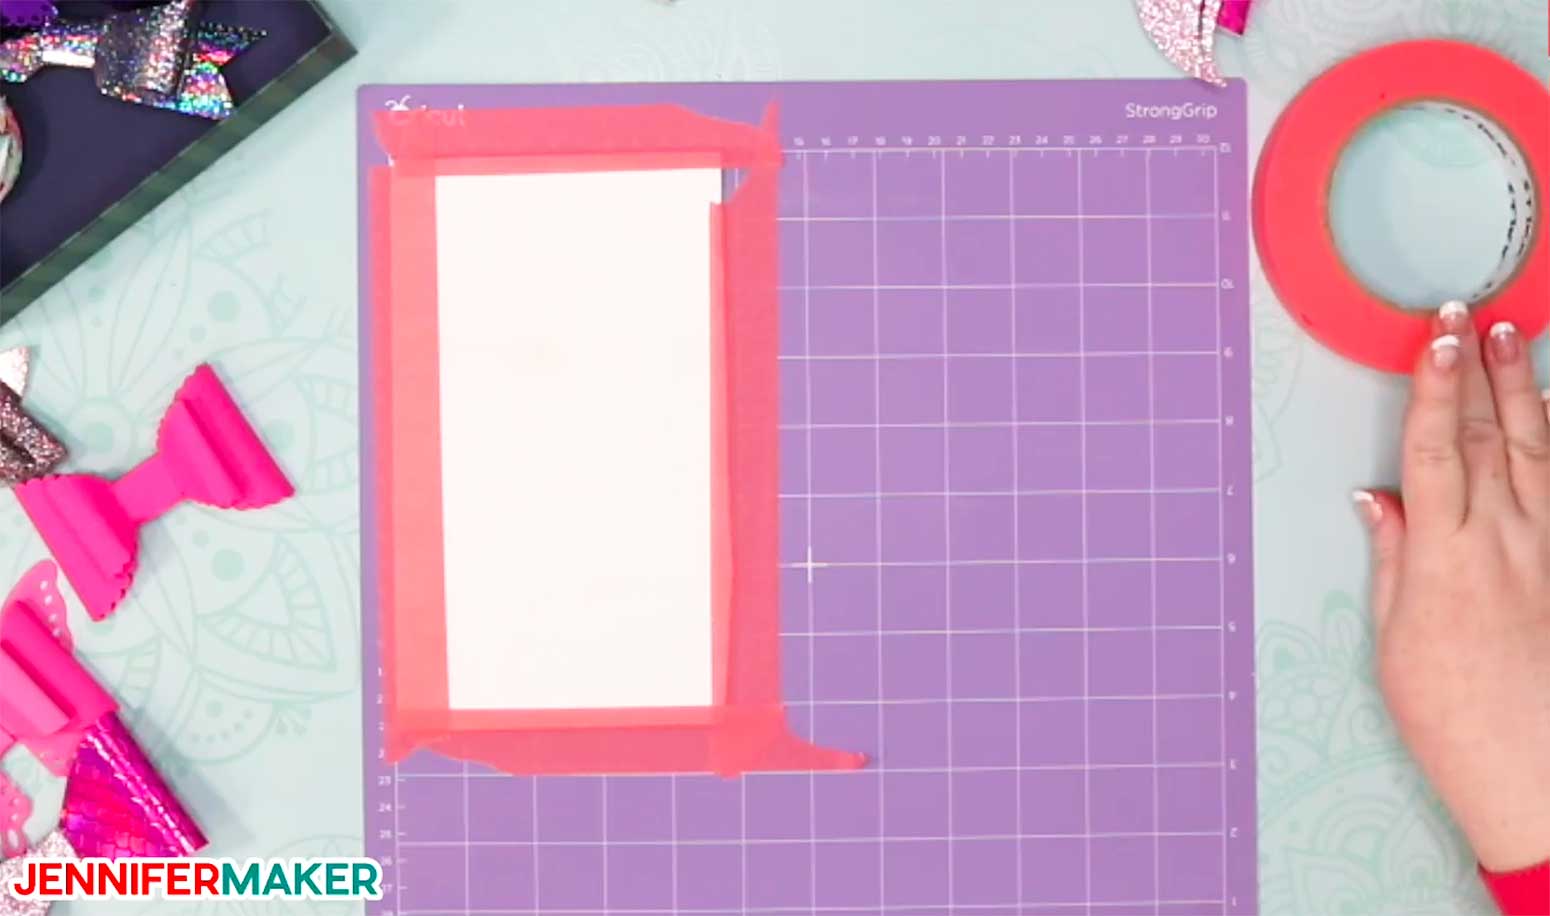
Simulated Leather Cut Tips for Success:
- Use a clean and sticky StrongGrip mat (purple mat).
- Lay the faux leather pretty side down on the mat.
- Employ painters tape to secure the edges to clinch the faux leather does non move on mat while cutting.
- Use the right blade and cut settings (see below).
If y'all accept a Cricut Maker cutting machine, click "Browse materials" and select Faux Suede equally your material. This will suggest use of the rotary blade that came with your maker. Earlier cutting move the star wheels all the way over to i side to prevent mark your material. Be sure to cheque to brand certain that the cut went through the material prior to removing the mat from the machine. If the material is not cutting all the way through press the C once again on your machine and the motorcar will cut the same design once more.
If y'all utilize a Cricut Explore machine, set your dial to Custom and click "Browse Materials" to detect the genuine leather material. Cricut volition recommend that the Deep Signal Blade is used for this fabric. Before cutting movement the star wheels all the manner over to one side to prevent marking your material.
If you lot're using faux leather, exist certain to click "Mirror" on all your cuts (as you're cutting your material face downwards). This is not necessary if you're not cutting paper, party foil, or fabric.
Pace 3: Put information technology All Together and Make Hair Bows
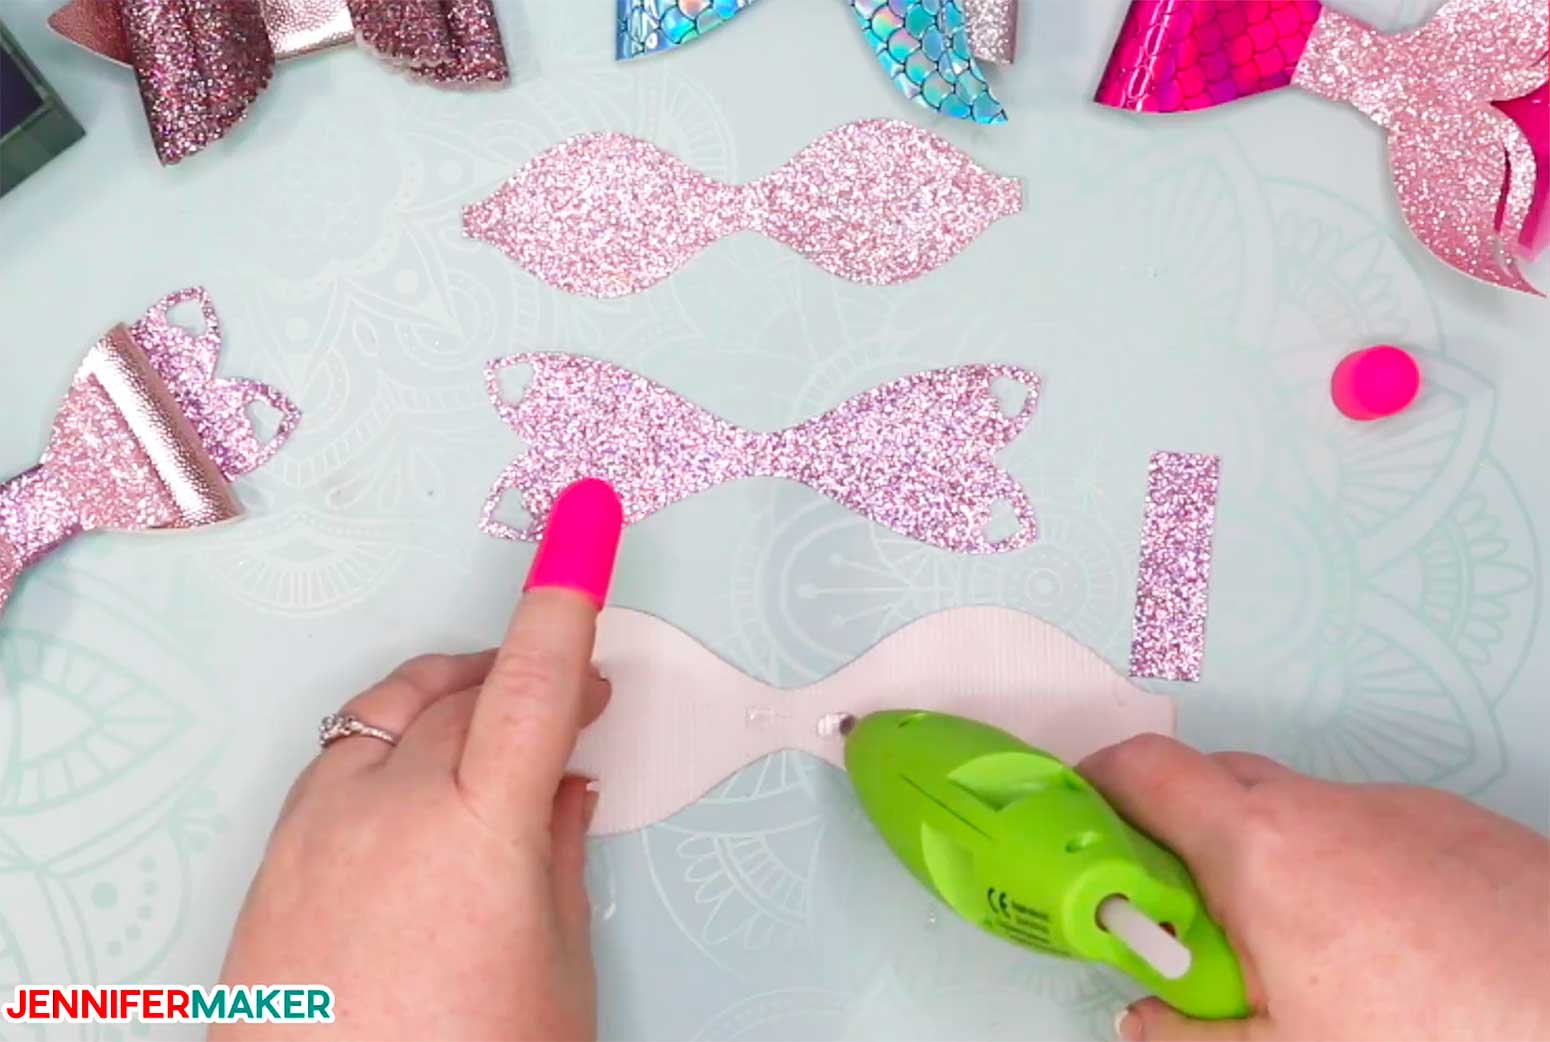
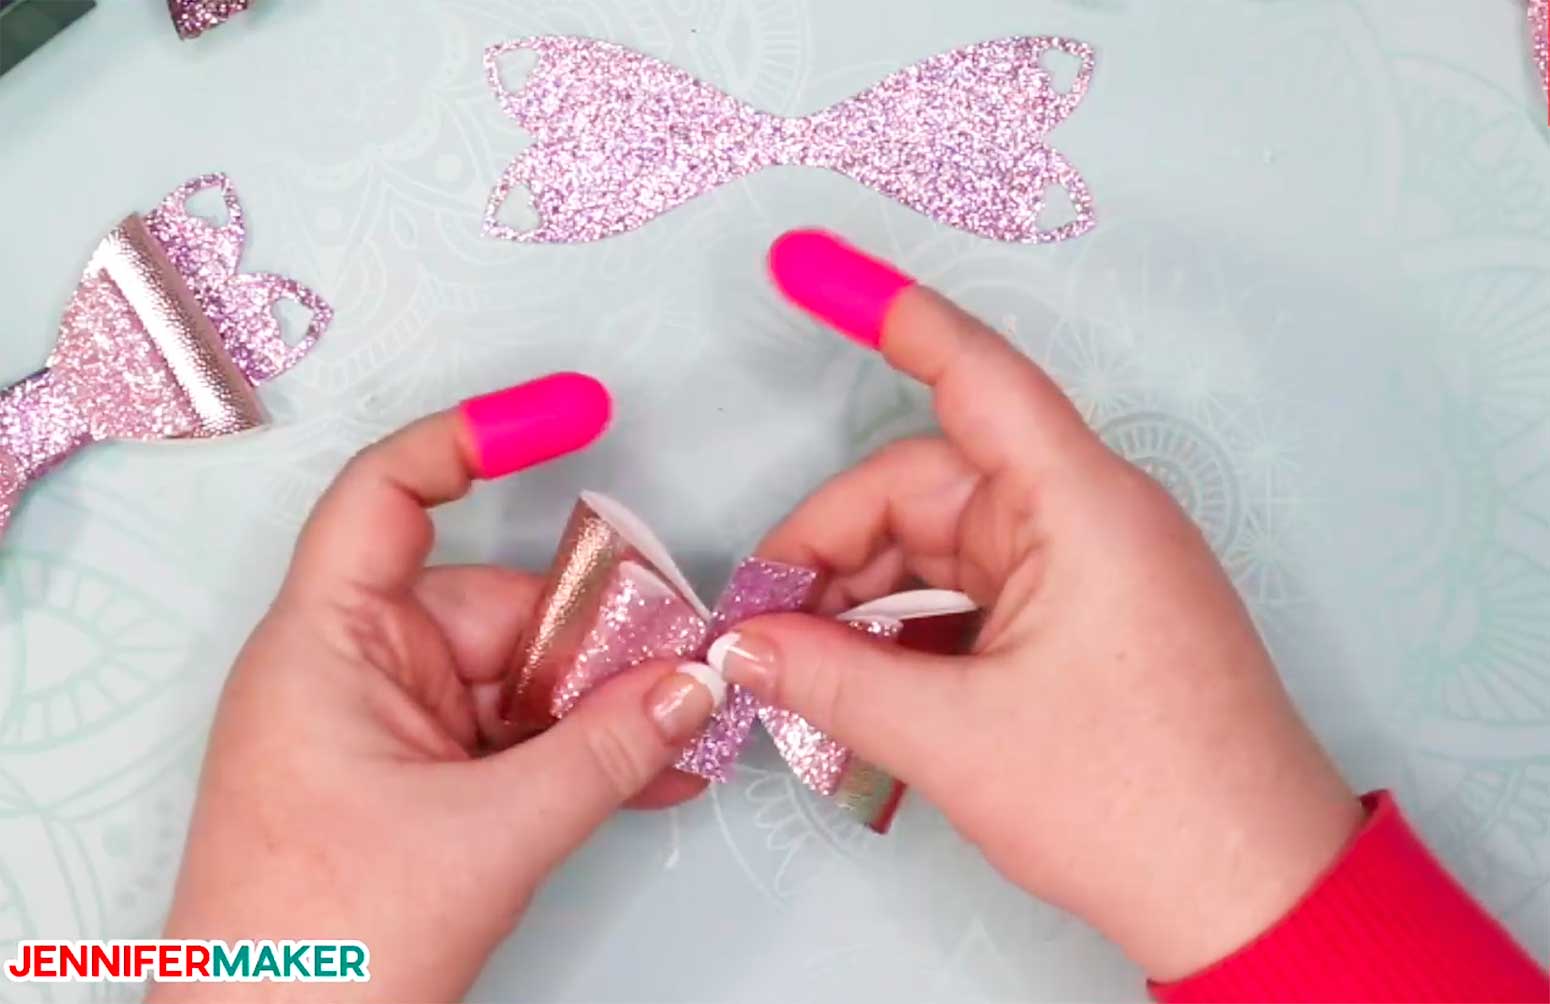
Once all cuts are made, gather the hair bows with gum. You can utilise East 6000 glue or hot glue -- I used hot glue. I also used hot glue finger protectors to avoid called-for my fingers with the hot gum.
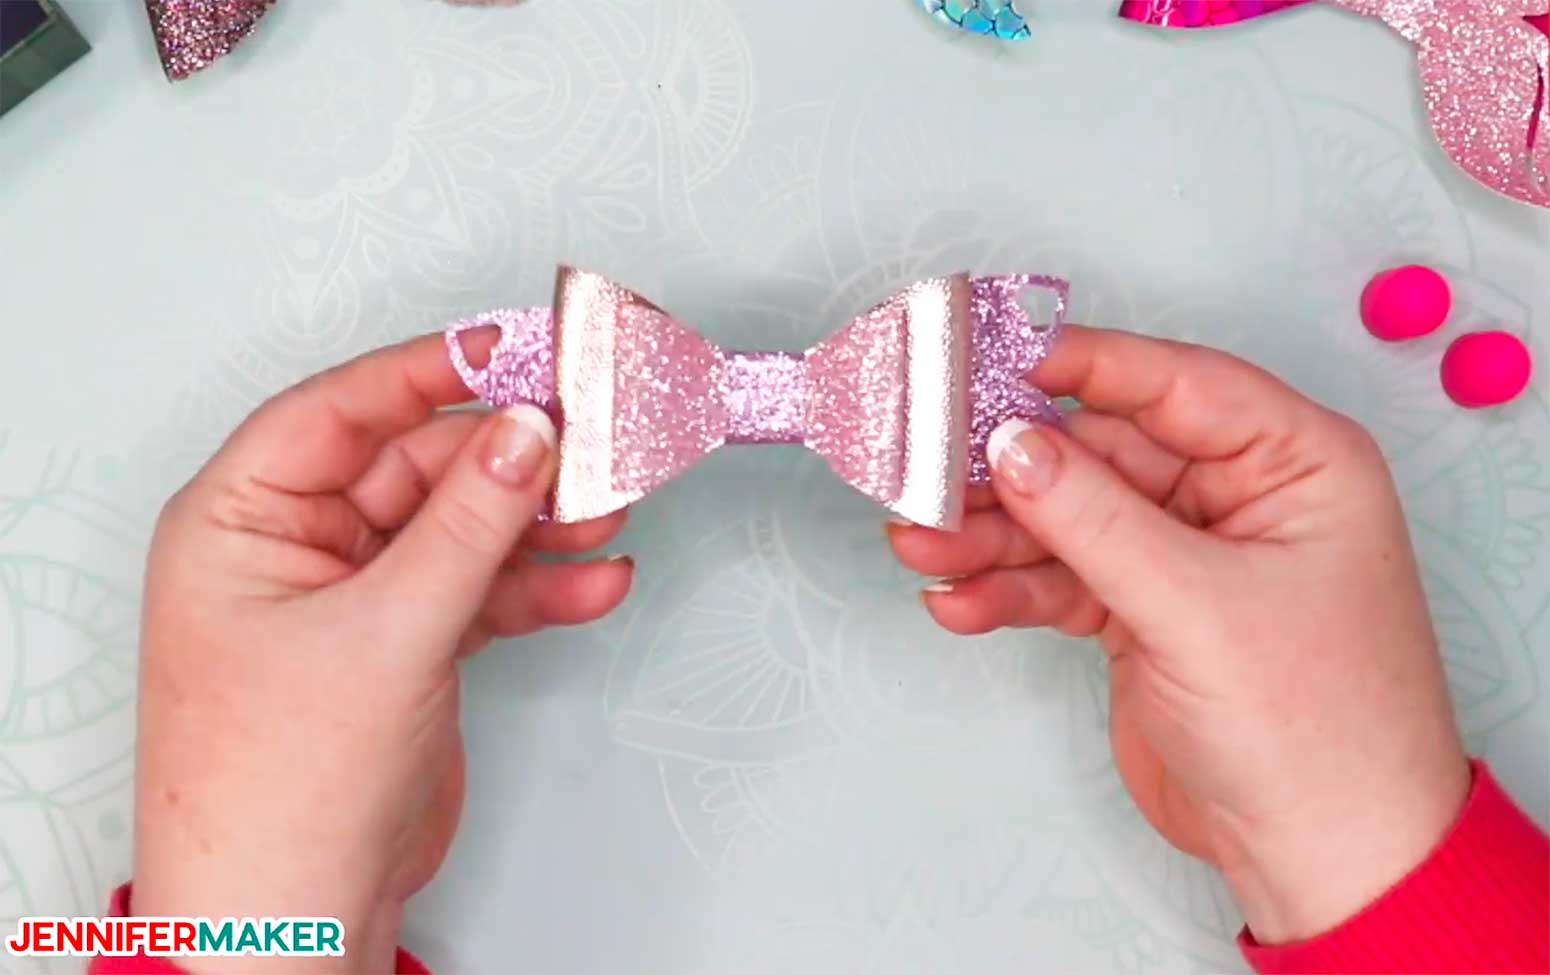
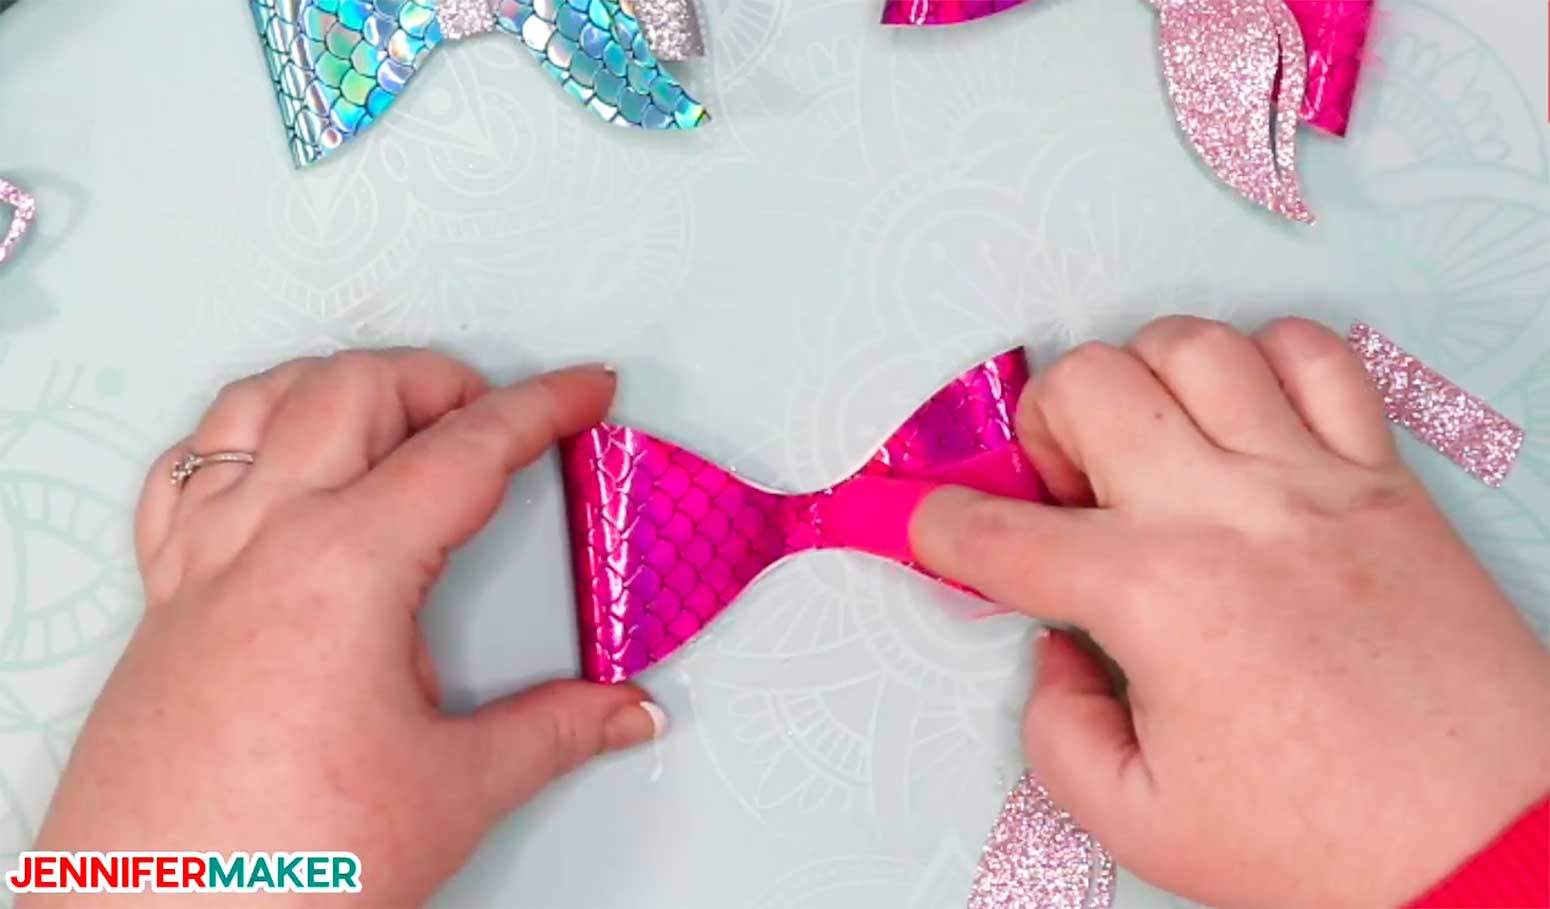
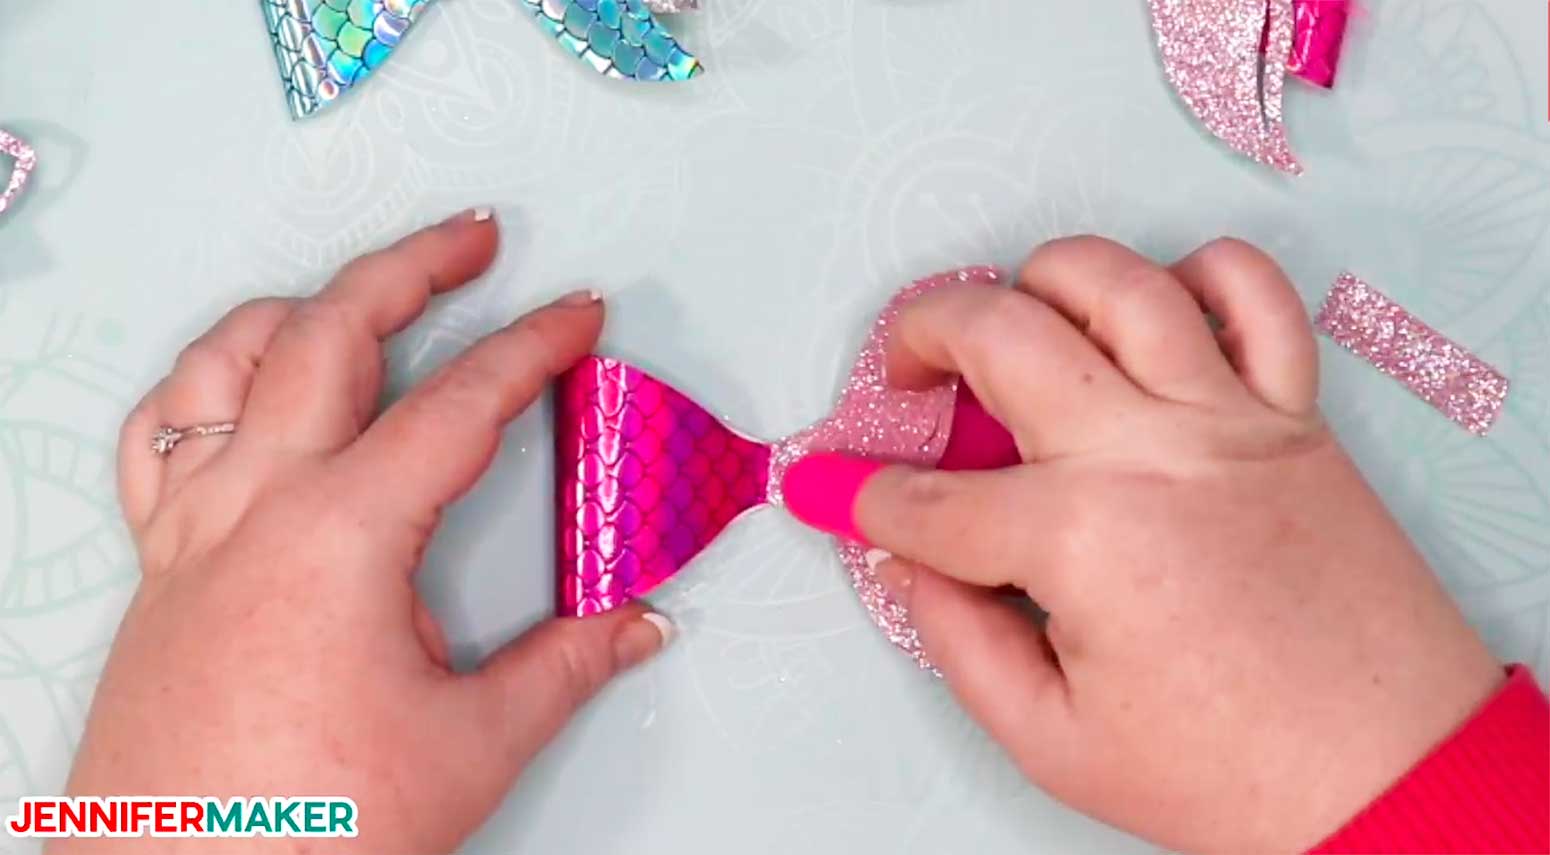
To glue your bows, flip your bow over so the pretty side is down. Now put ii drops of gum on the narrow section in the center of the pilus bow and bring the two ends in to the center. Press downward on the glued surface area with a protected finger or other tool until the glue sets.
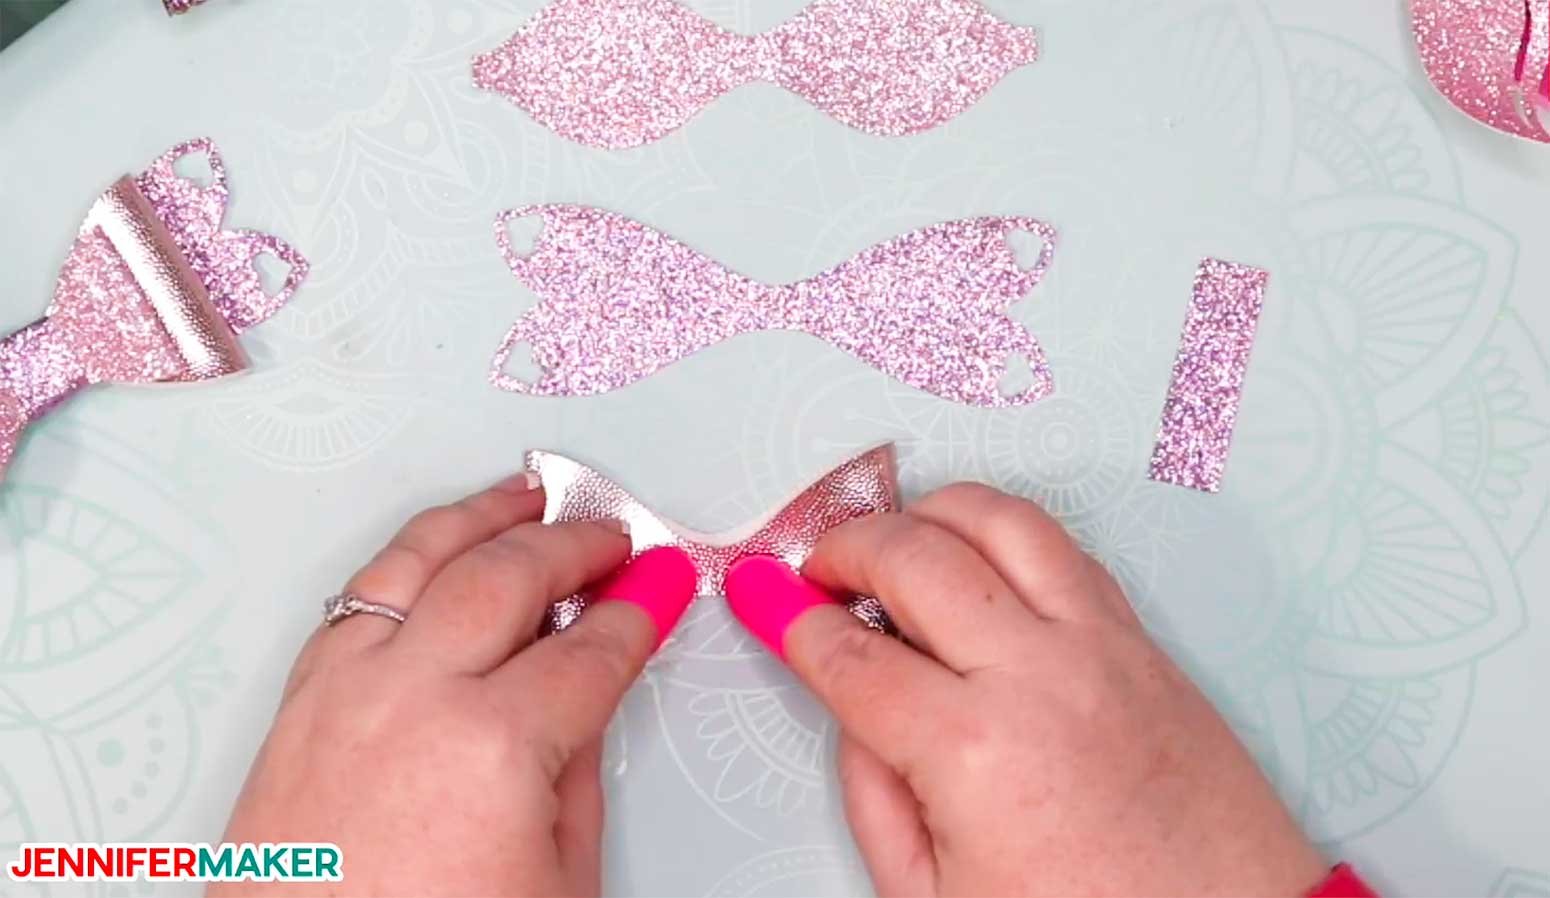
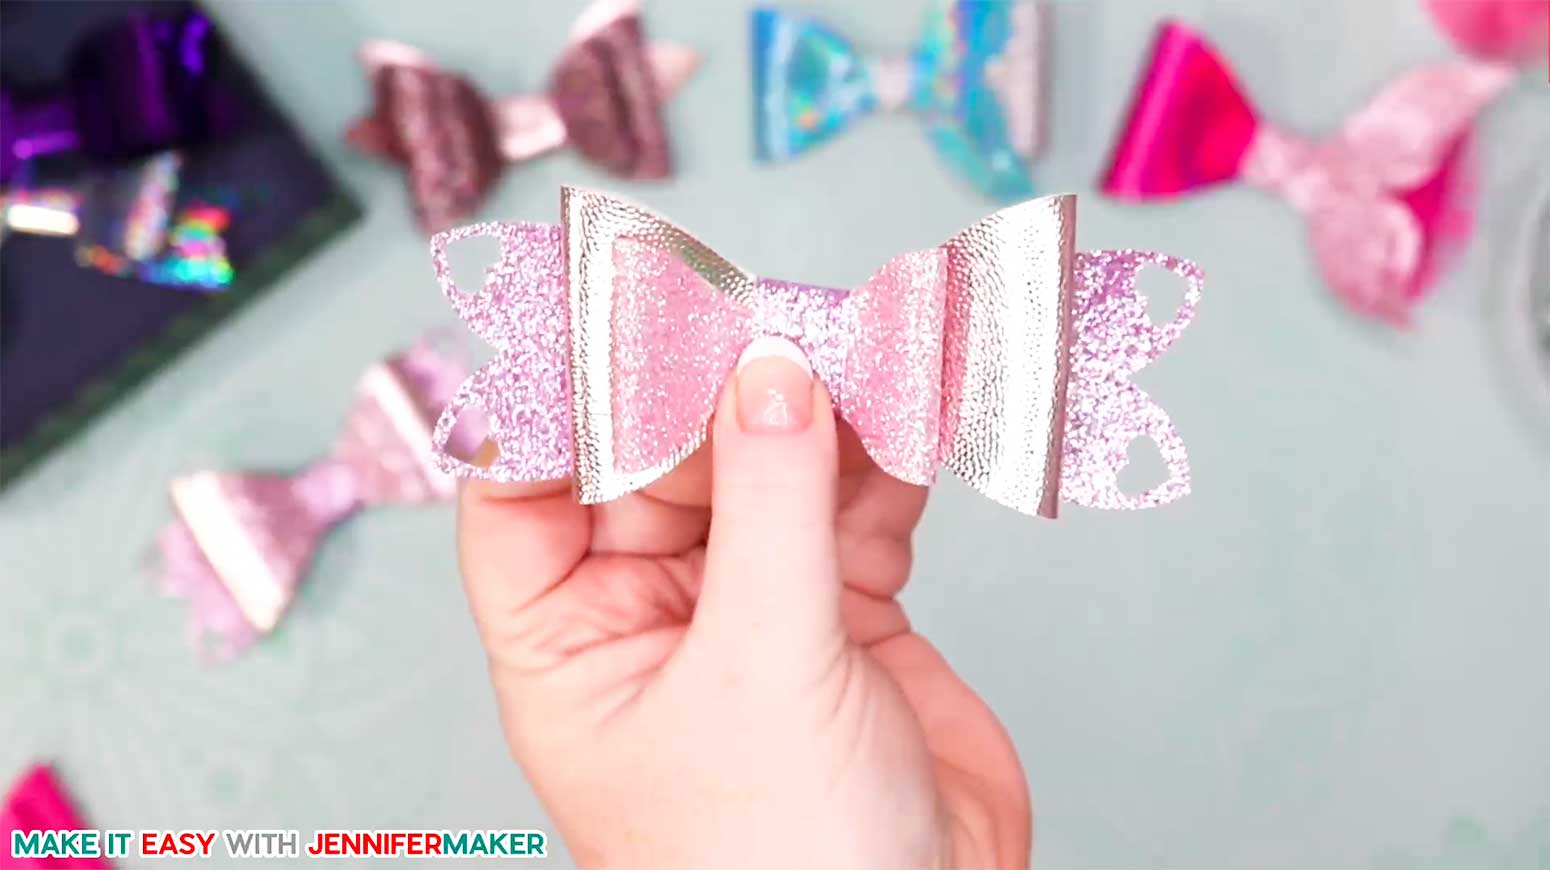
Repeat this for any boosted layers in your chosen bow design.
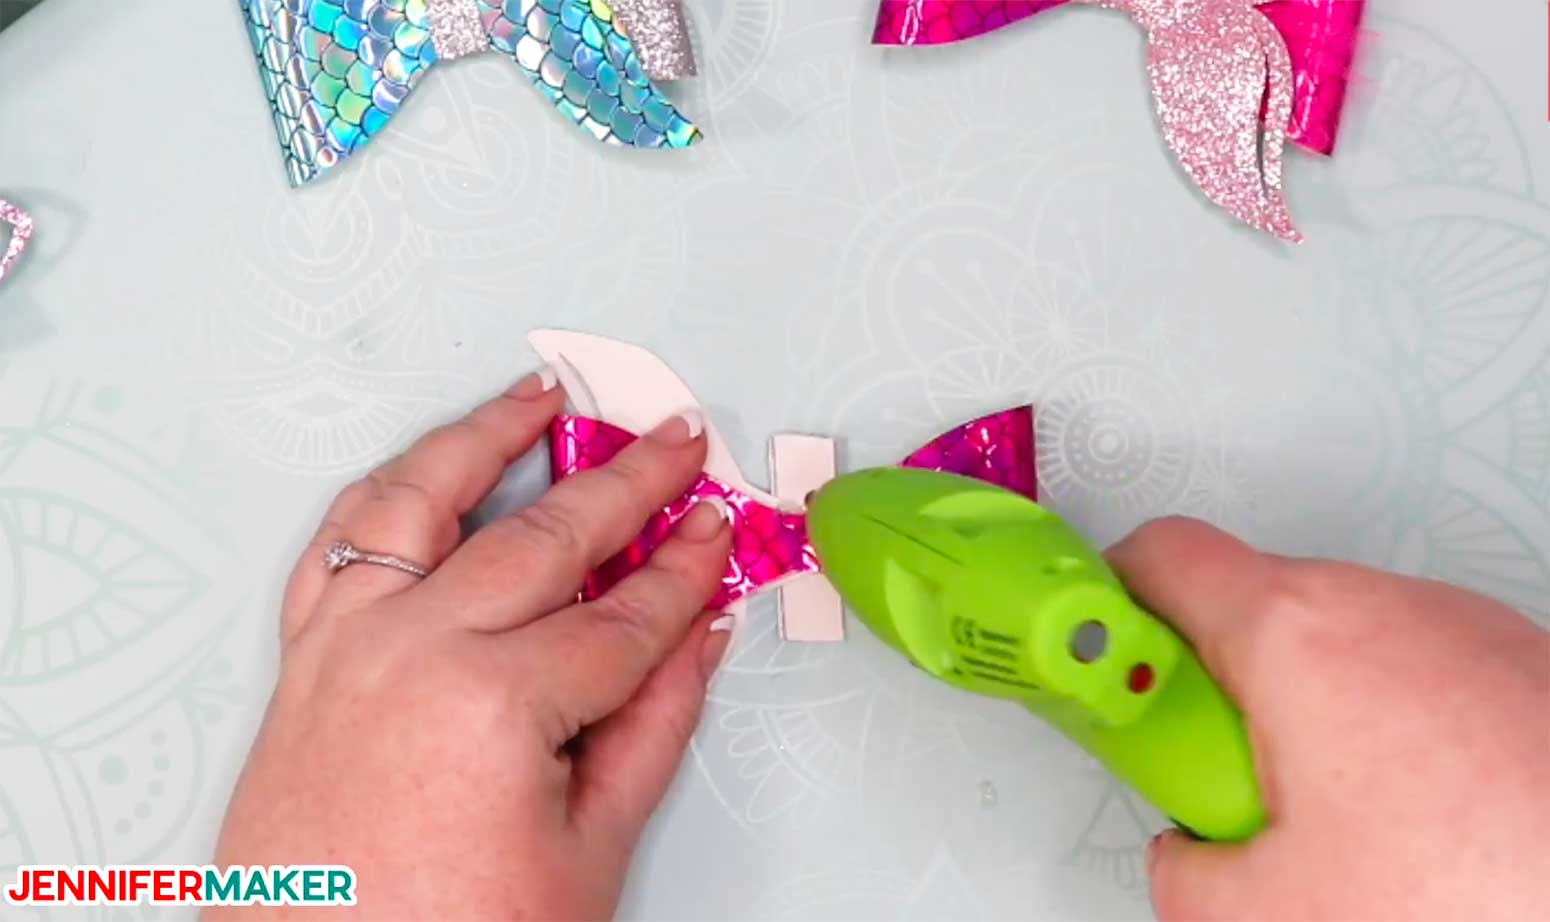
Mucilage a the bow tie band around the centre of each hair bow, placing a dab of glue on each end of it until it is secured.
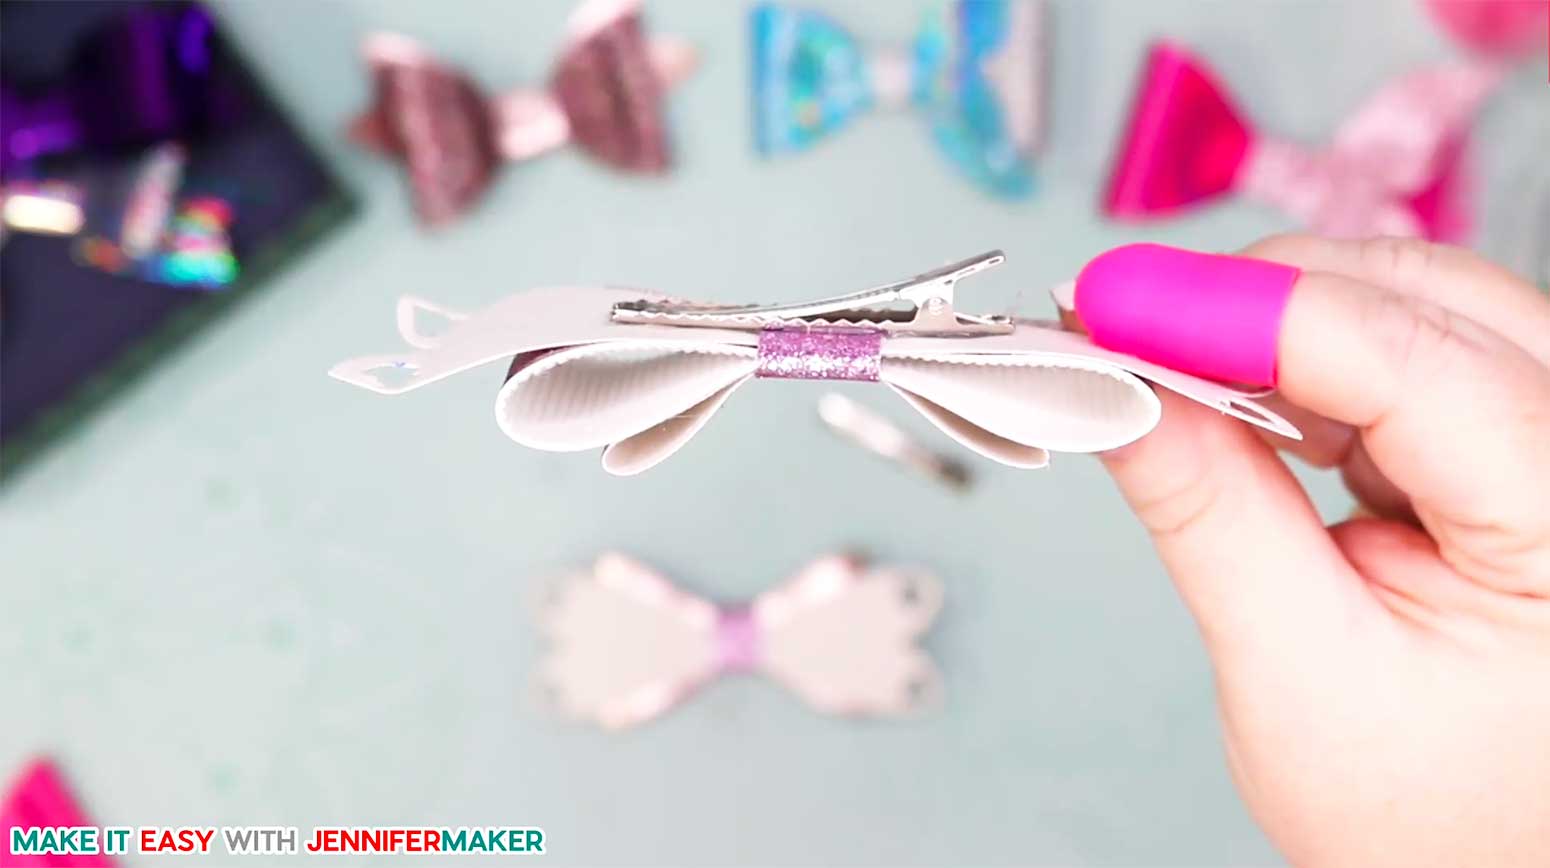
If you're adding a decorative backer, like butterfly wings or angel wings, glue those on the dorsum of your largest bow.
Glue the hair clip on the back your glued bow.
And there we have a pretty pilus bow!
How to put together the Mermaid Bow with Tulle:
Repeat the to a higher place steps for the big bow section until it is attached together:
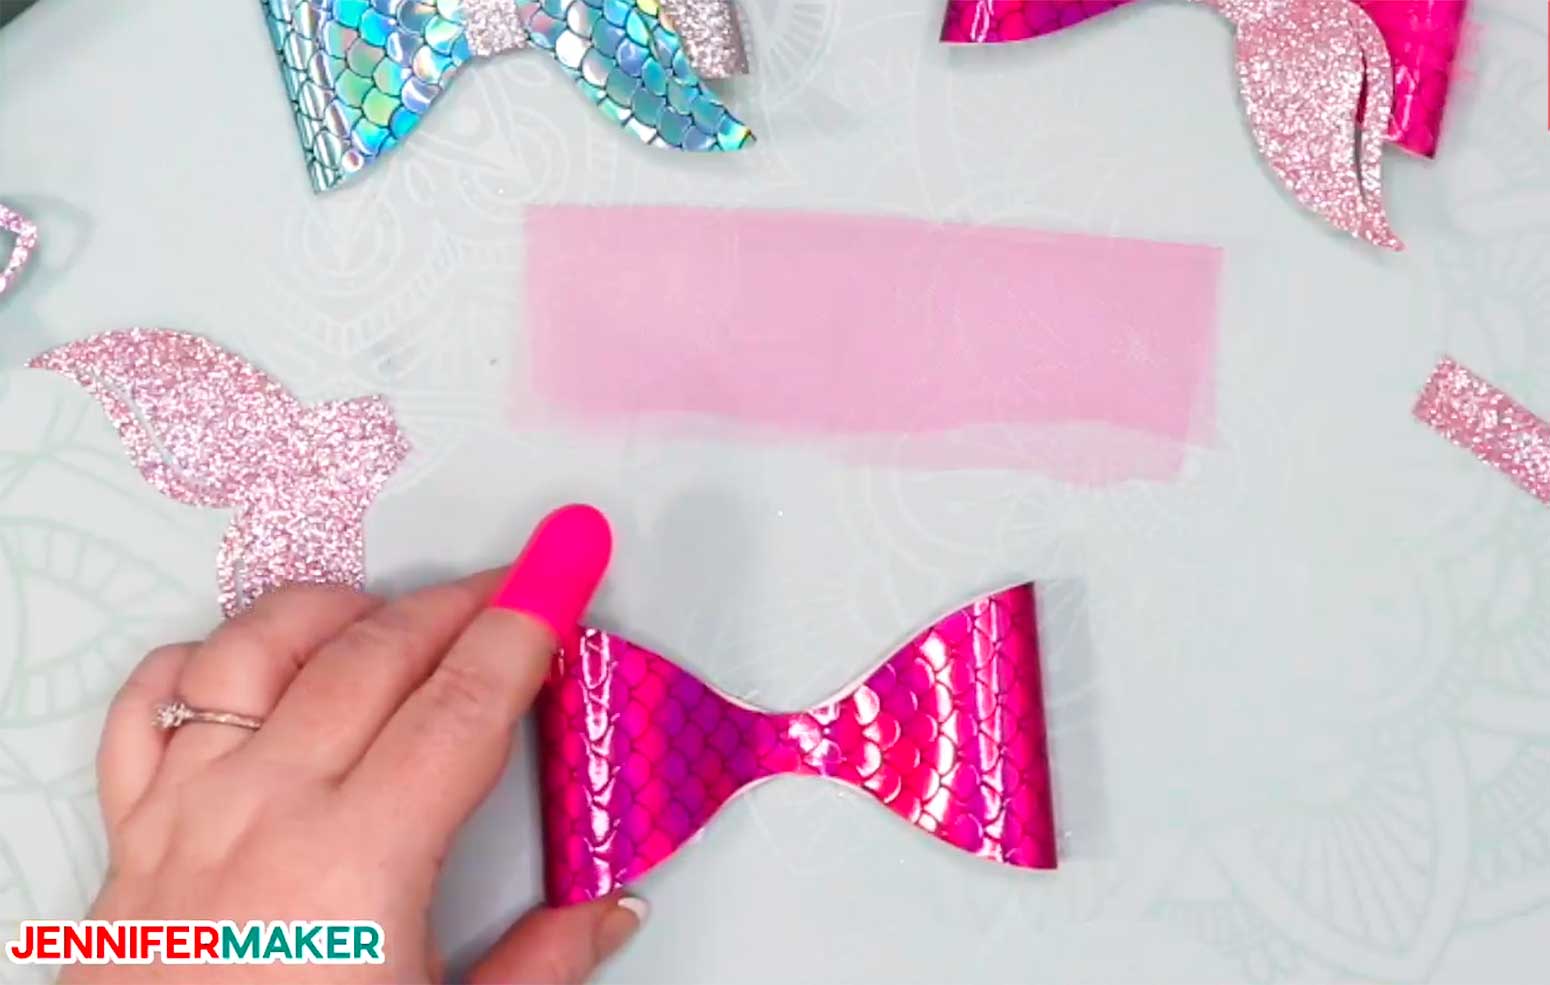
Cutting a strip of tulle nigh four" x vi" and fold information technology in half lengthwise.
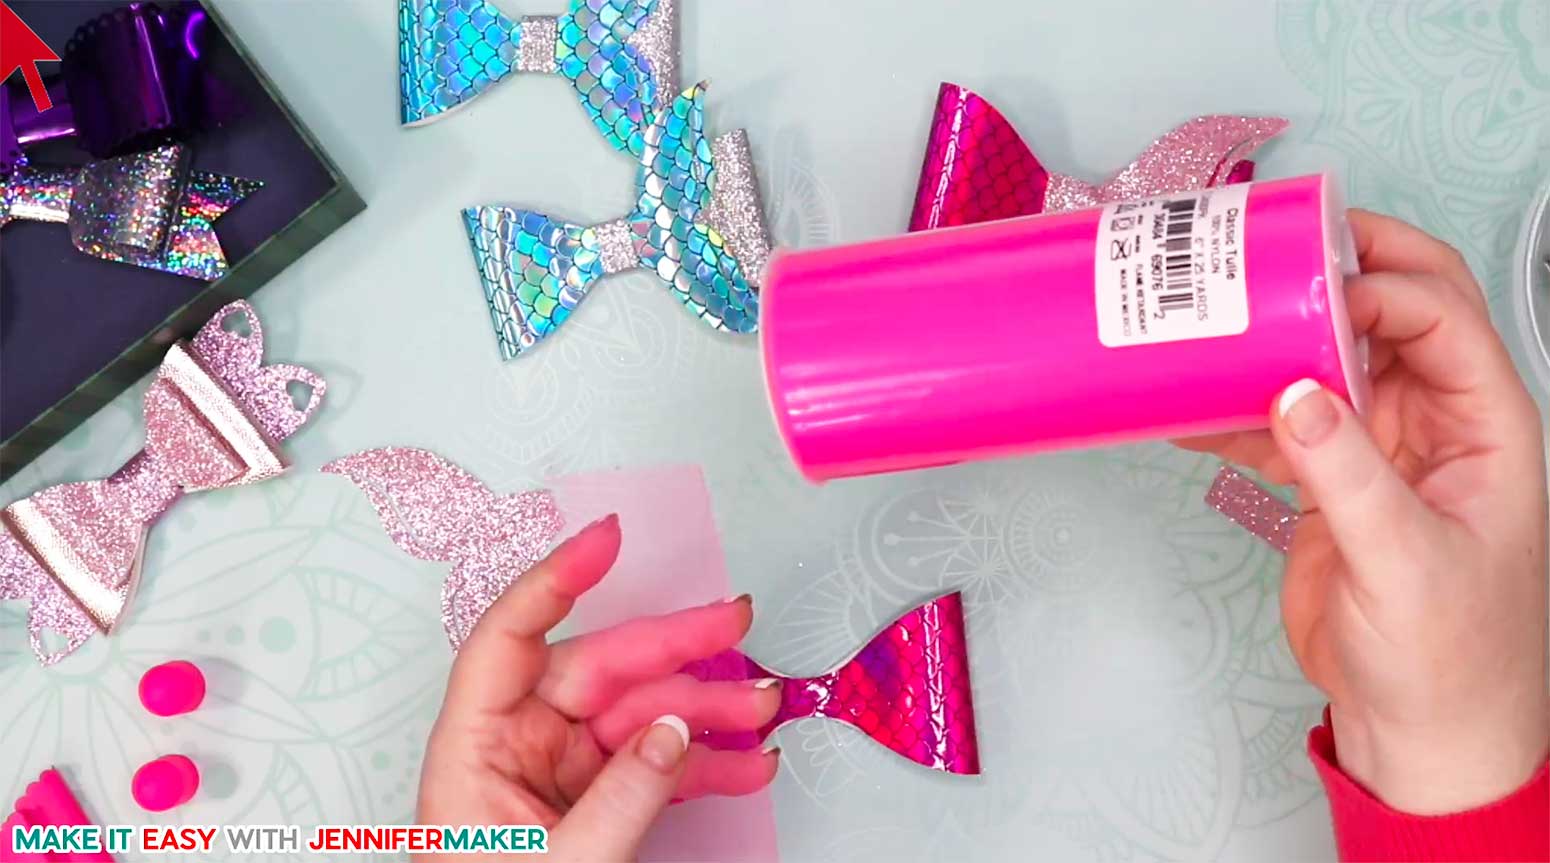
Now fold the tulle in and pleat it to create a fan shape, like this:
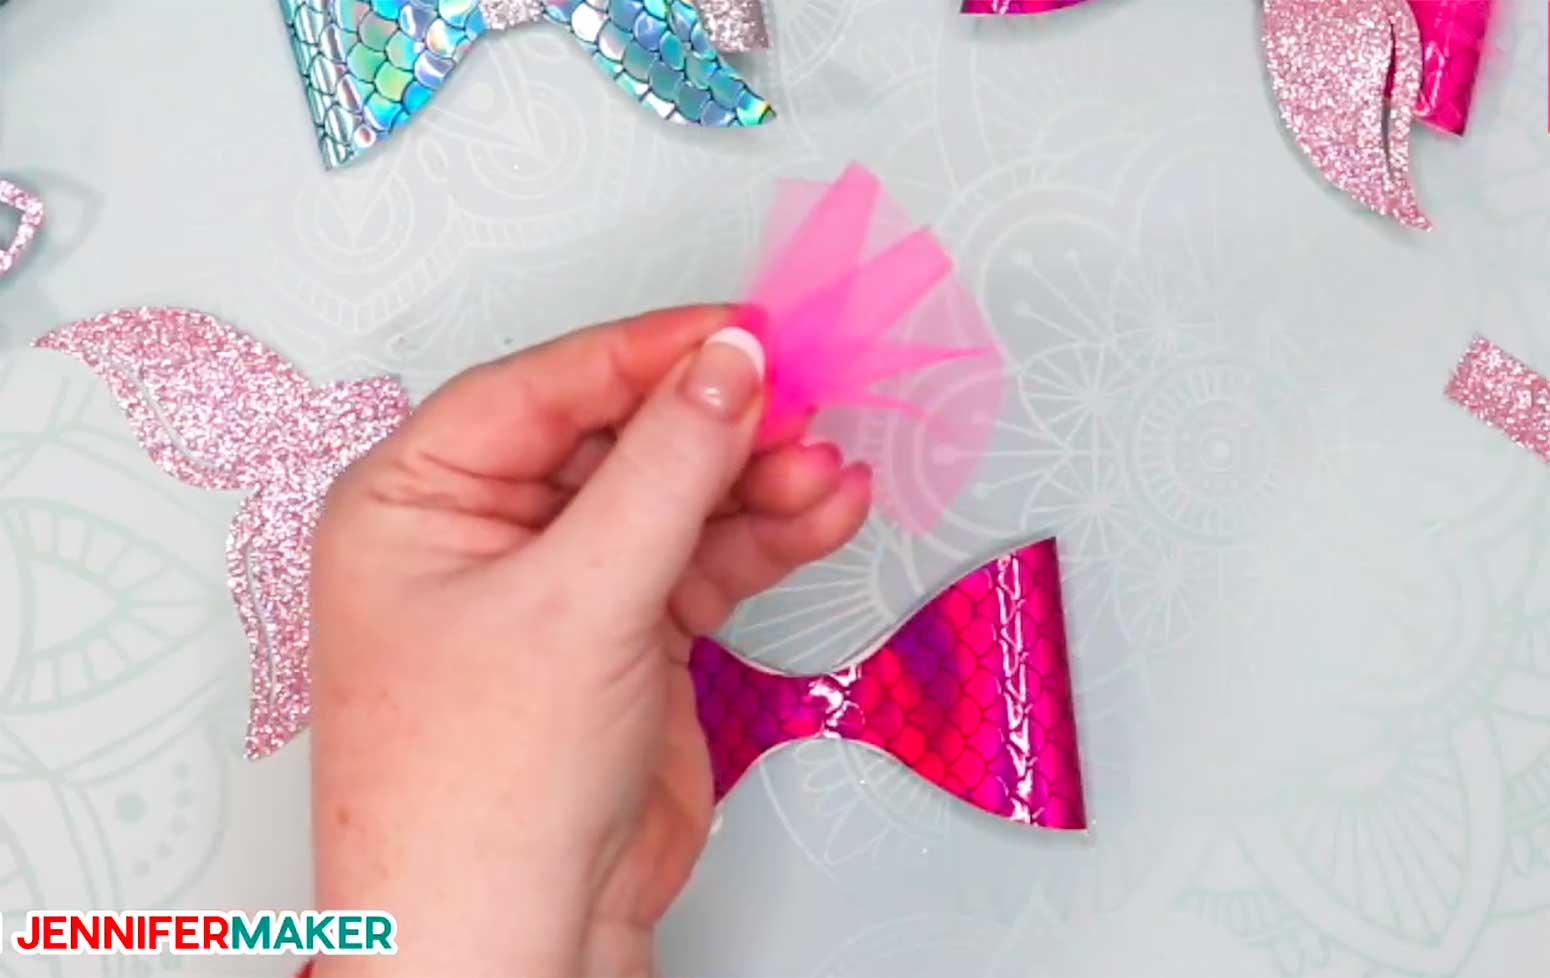
Glue the tulle to the front end and center of the big bow so that information technology is fanning out with i side of the bow, like this:
Tip: Become as much of the tulle folded into to the center of the bow so it doesn't stick out funny.
At present glue on the mermaid tail itself over the tulle.
When it's all assembled, glue on your hair bow ring:
At present but glue and hair clip onto the back and yous're DONE!
How to cut and put together Cloth Bows:
If using the Maker, put fabric pretty side upward on the mat (the pink mat) and browse materials to detect the type of fabric in the materials listing. You will be asked to put the rotary blade that came with your Maker into the auto.
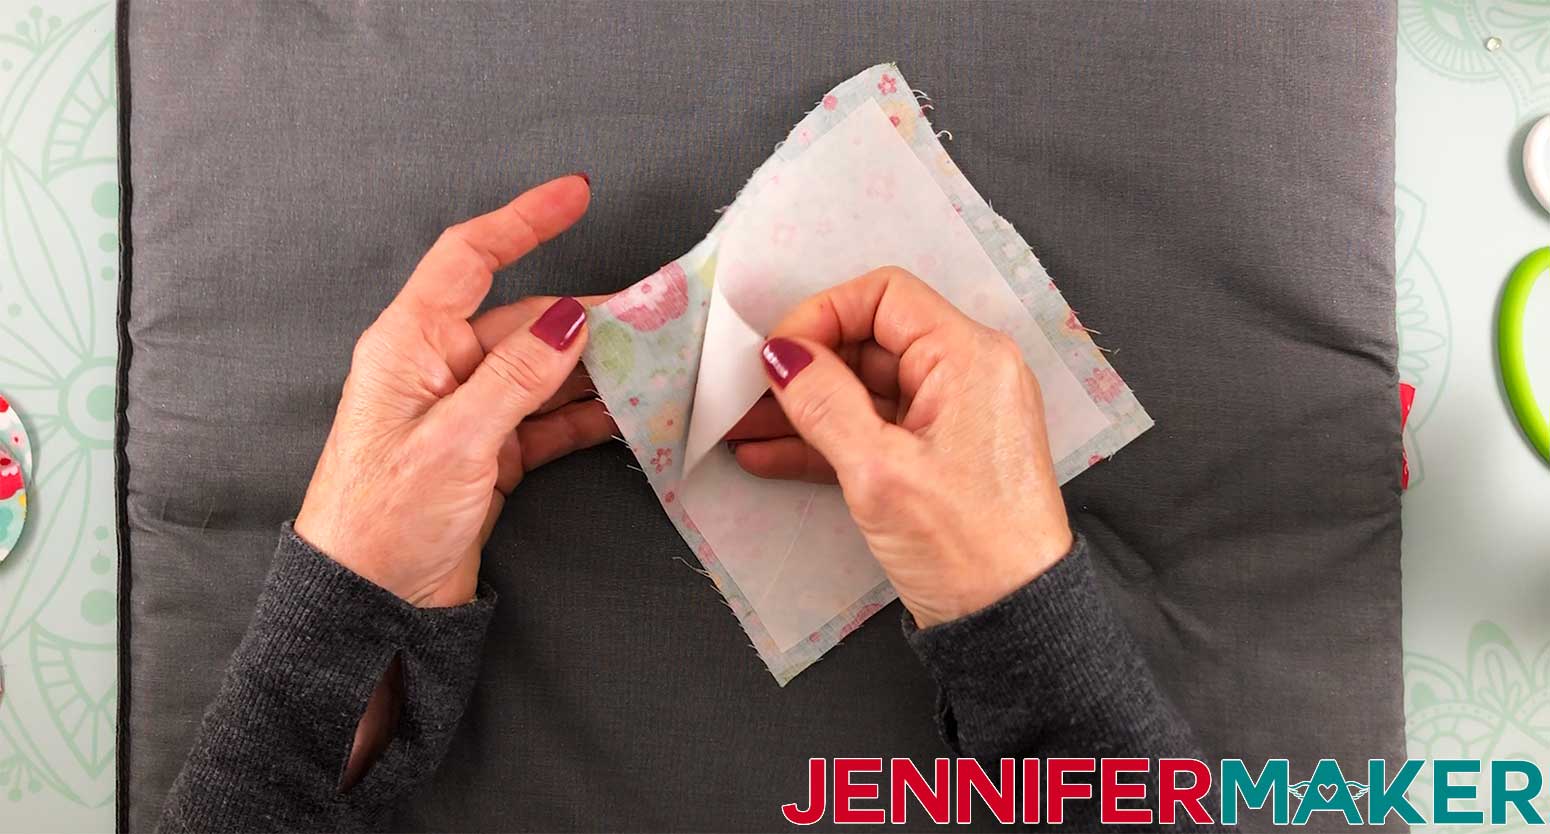
If using an Explore motorcar, you will need to utilise Heat and Bond to your fabric prior to putting it on the mat to cut. Cut the Estrus and Bond so that information technology is a flake smaller than your fabric equally you exercise not want to get any of that gum on your EasyPress mat or whatsoever material you are using to atomic number 26 on. The heat and bond will exist ironed on to the back side of your material with the textured side of the heat and bail confronting the textile. If using an EasyPress to iron the Heat and Bond on, outset press your material to get wrinkles out and warm it up. Heat your EasyPress to 350 degrees and set the timer for 2 seconds. Press the Rut and Bail on to the material. When the material has cooled, cutting whatever edges of textile that do non have Heat and Bail on them off then they don't cause problems when cut. Remove the newspaper backing from the Heat and Bond and utilise the bonded textile to the mat (pink mat). Set up your dial to Bonded Textile to cut.
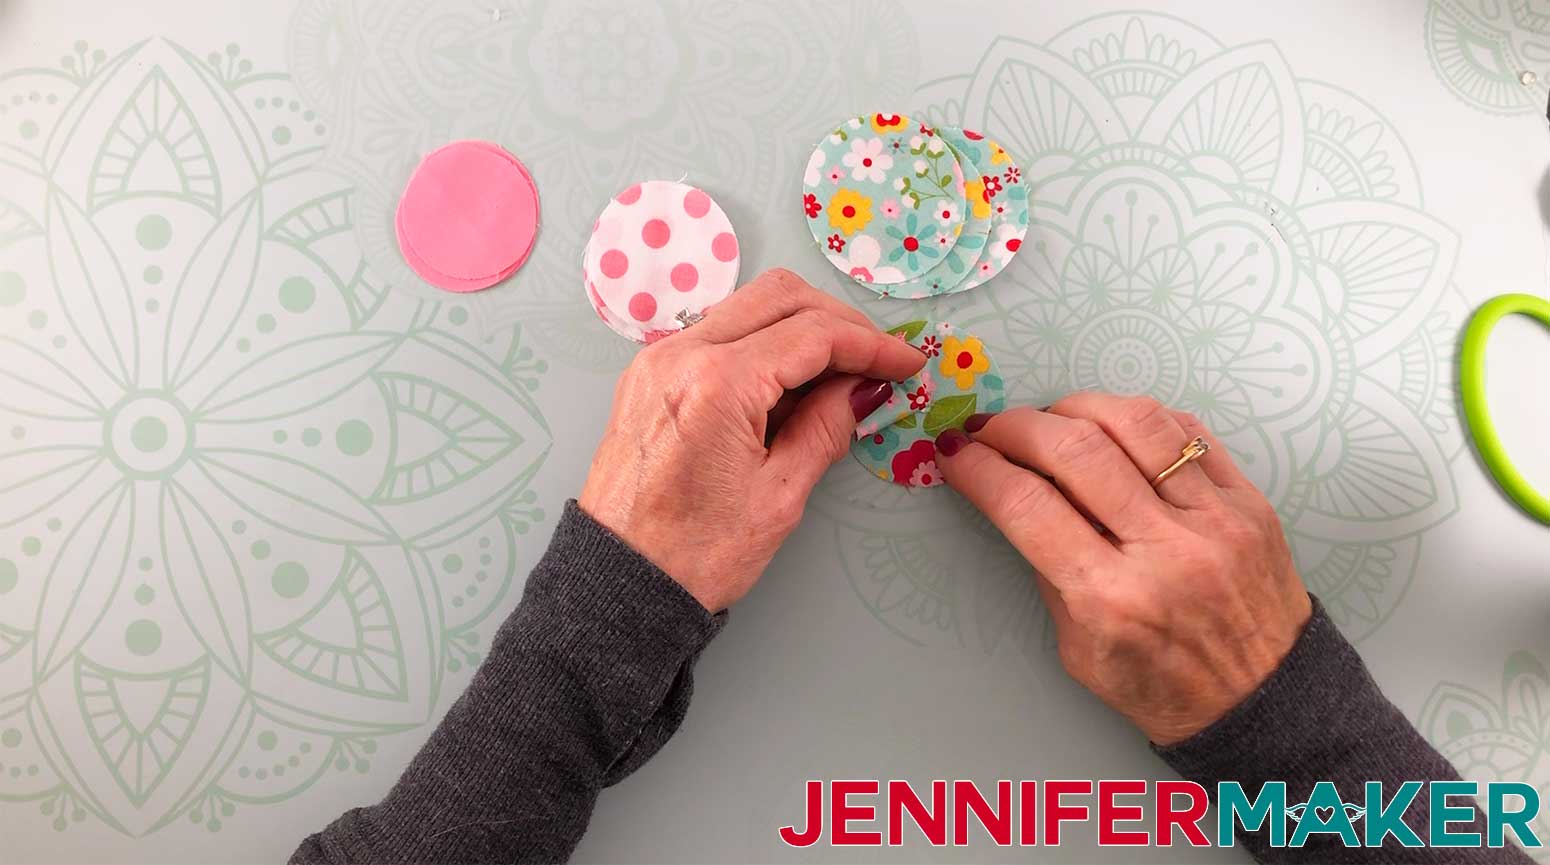
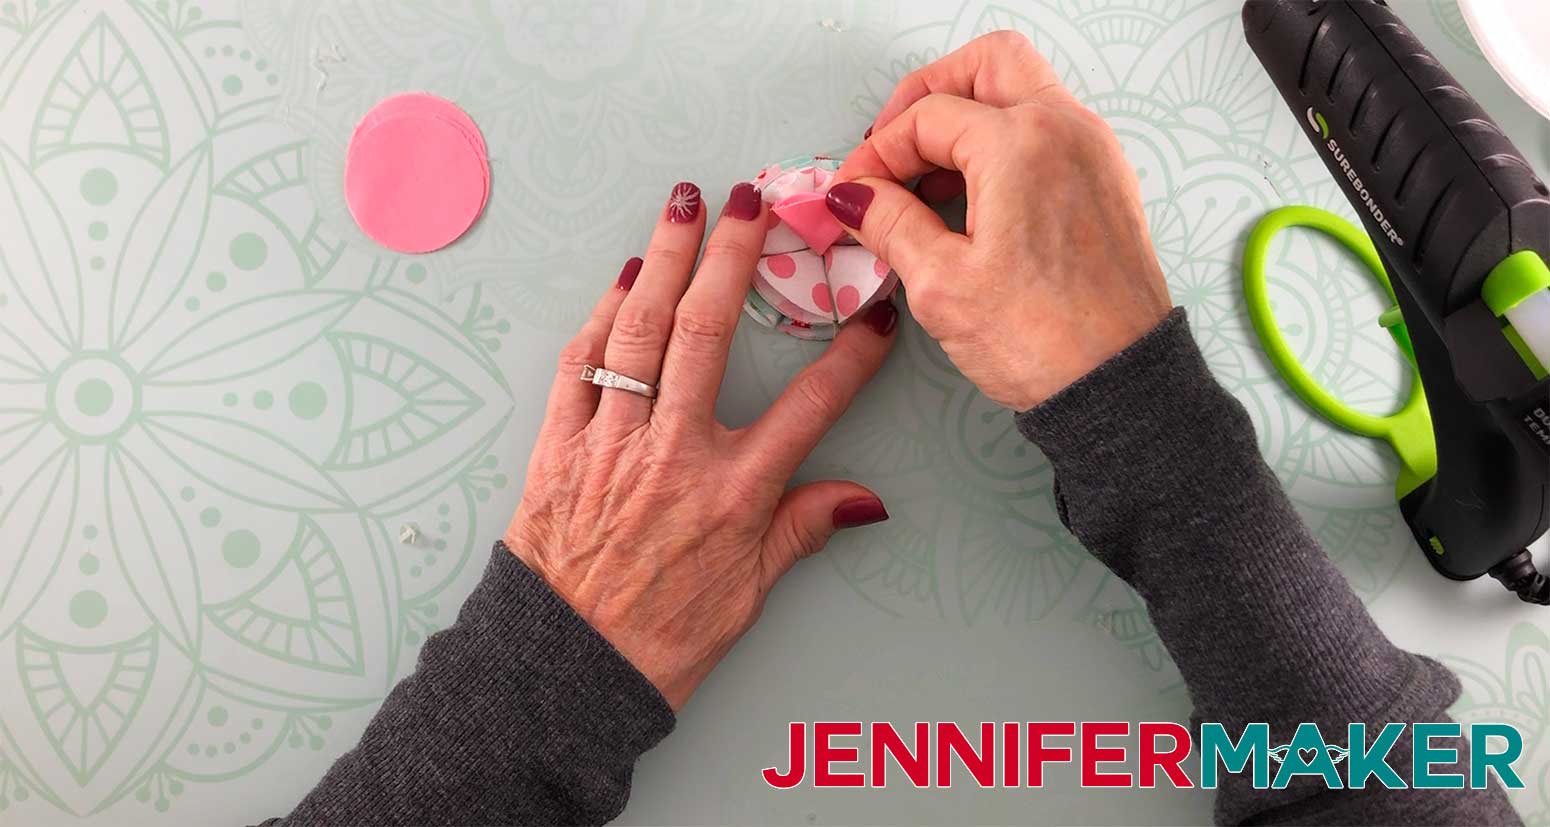
In one case all pieces are cutting out, start associates with the largest circumvolve beginning (there are 5 of the largest circles). Lay ane circle down every bit your bottom layer. Take another piece and fold it in half (back sides together) and then fold in half again and put a footling spot of gum between this last fold.
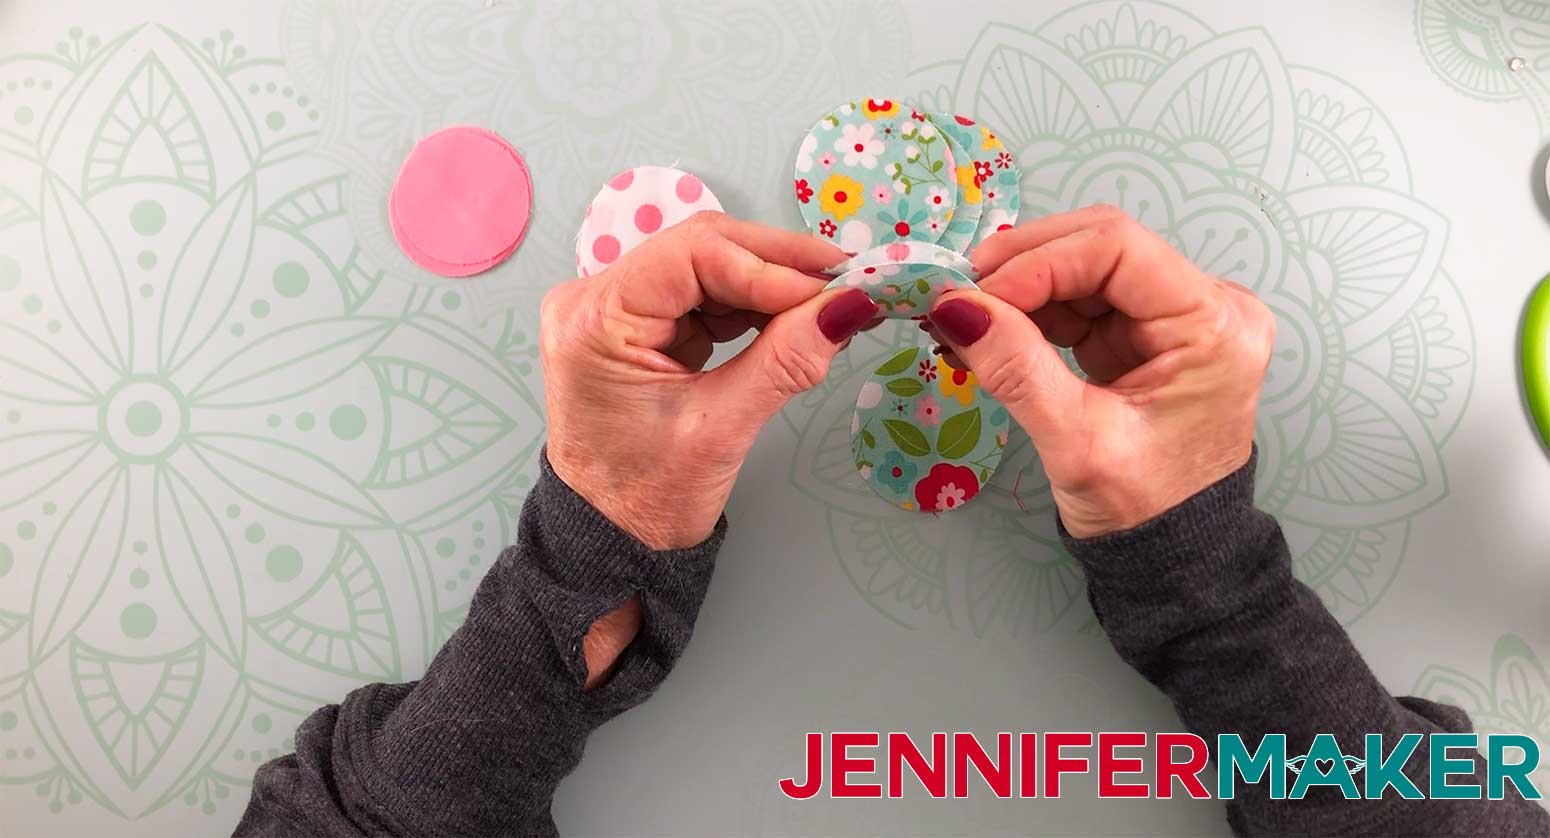
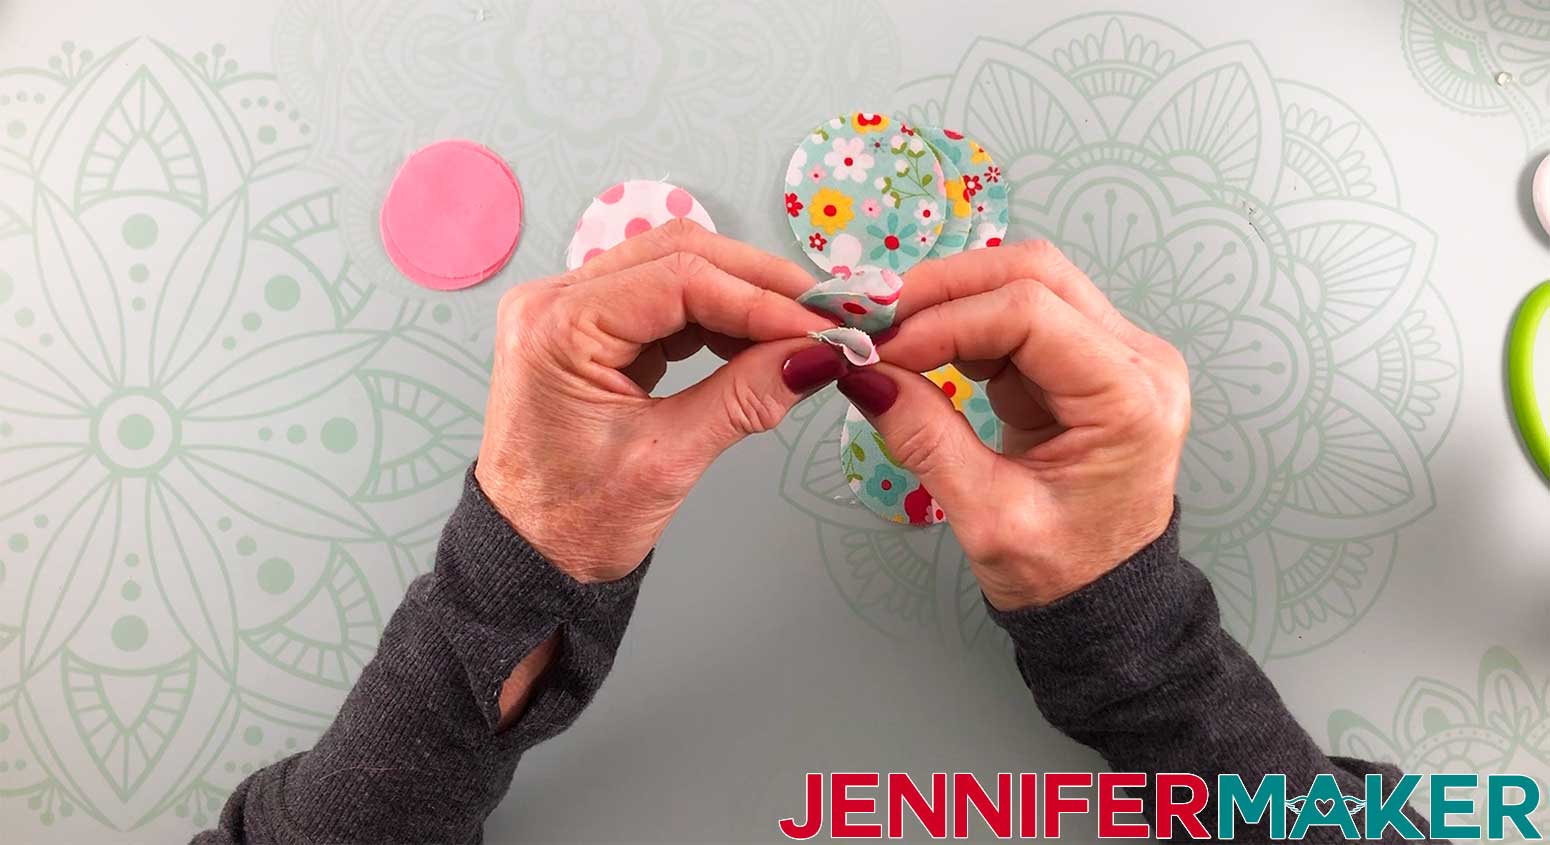
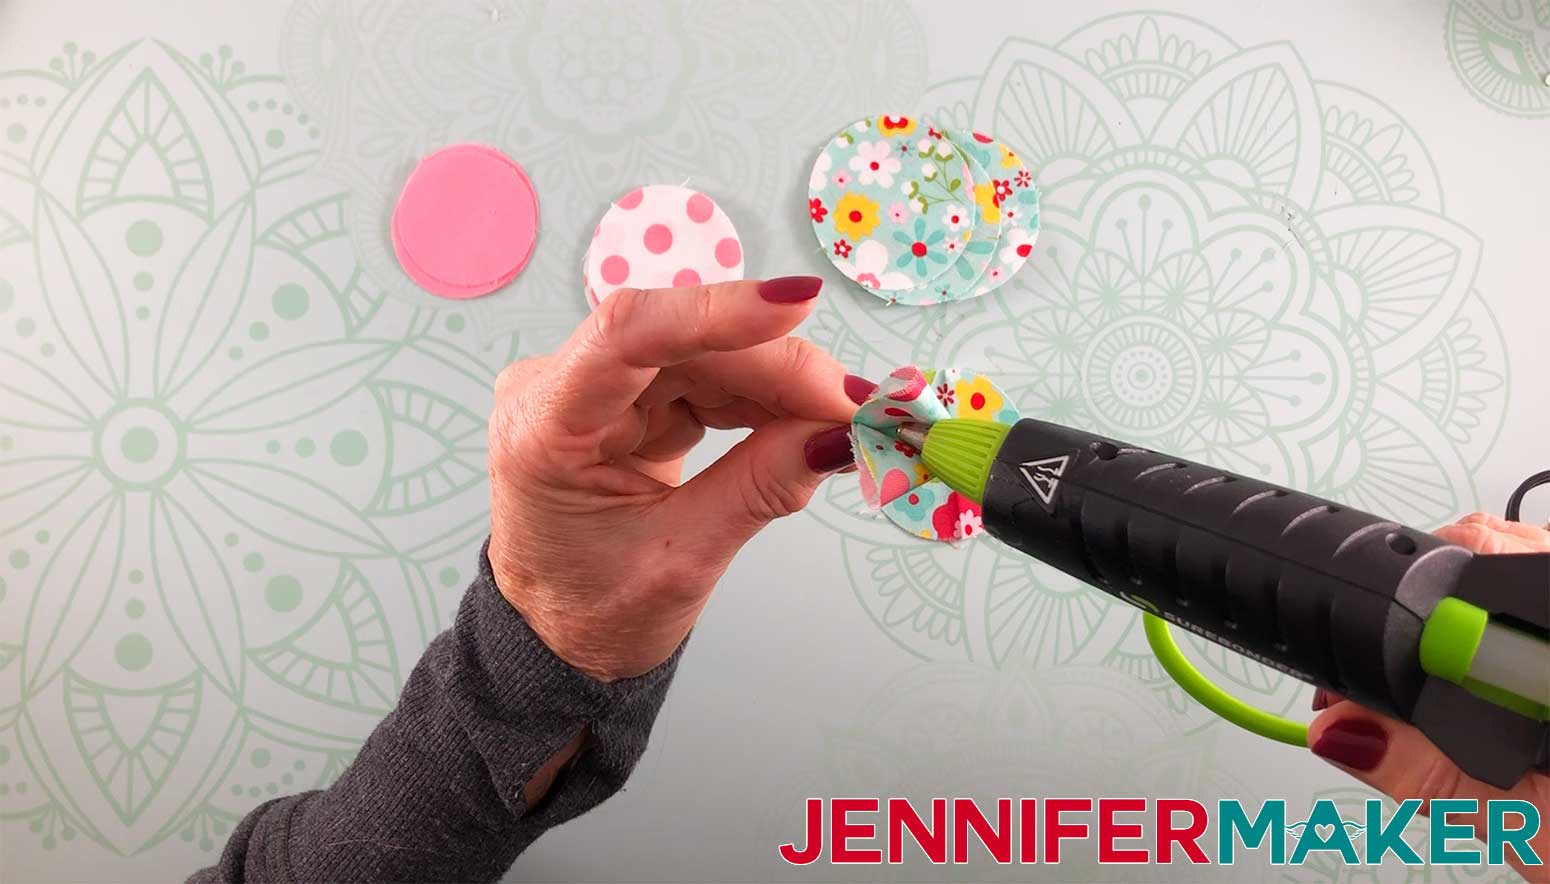
Also, put a spot of glue in the heart of the circle that is your bottom layer. Put your first piece downwards onto that bottom circle with the point of the fabric pointing to the middle. Gather the next iii pieces the same. At this point you volition take the base (bottom) piece with 4 glued pieces around it.
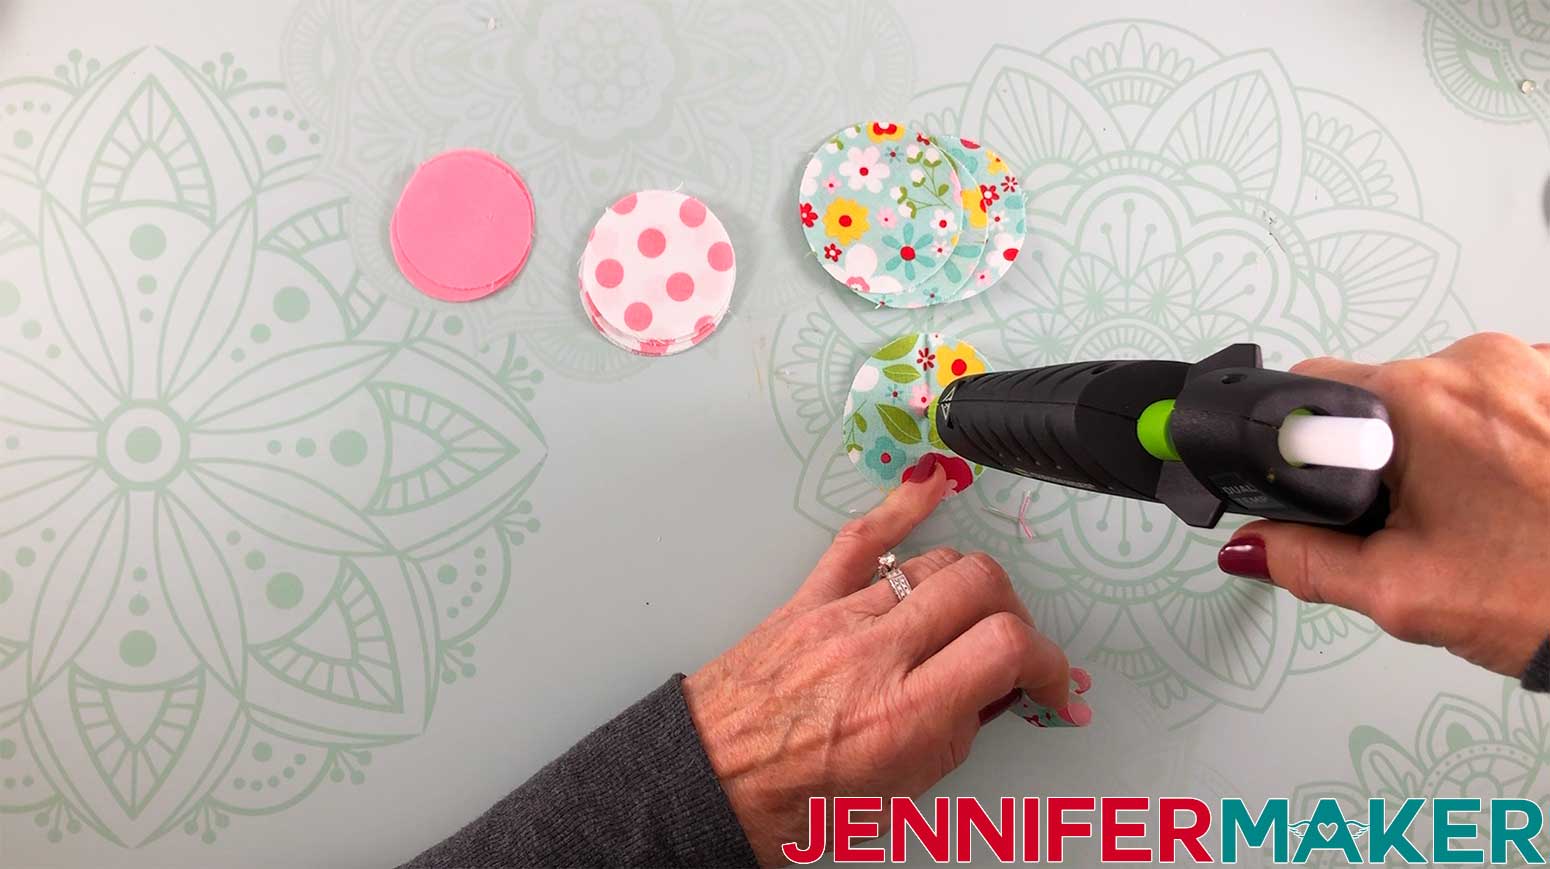
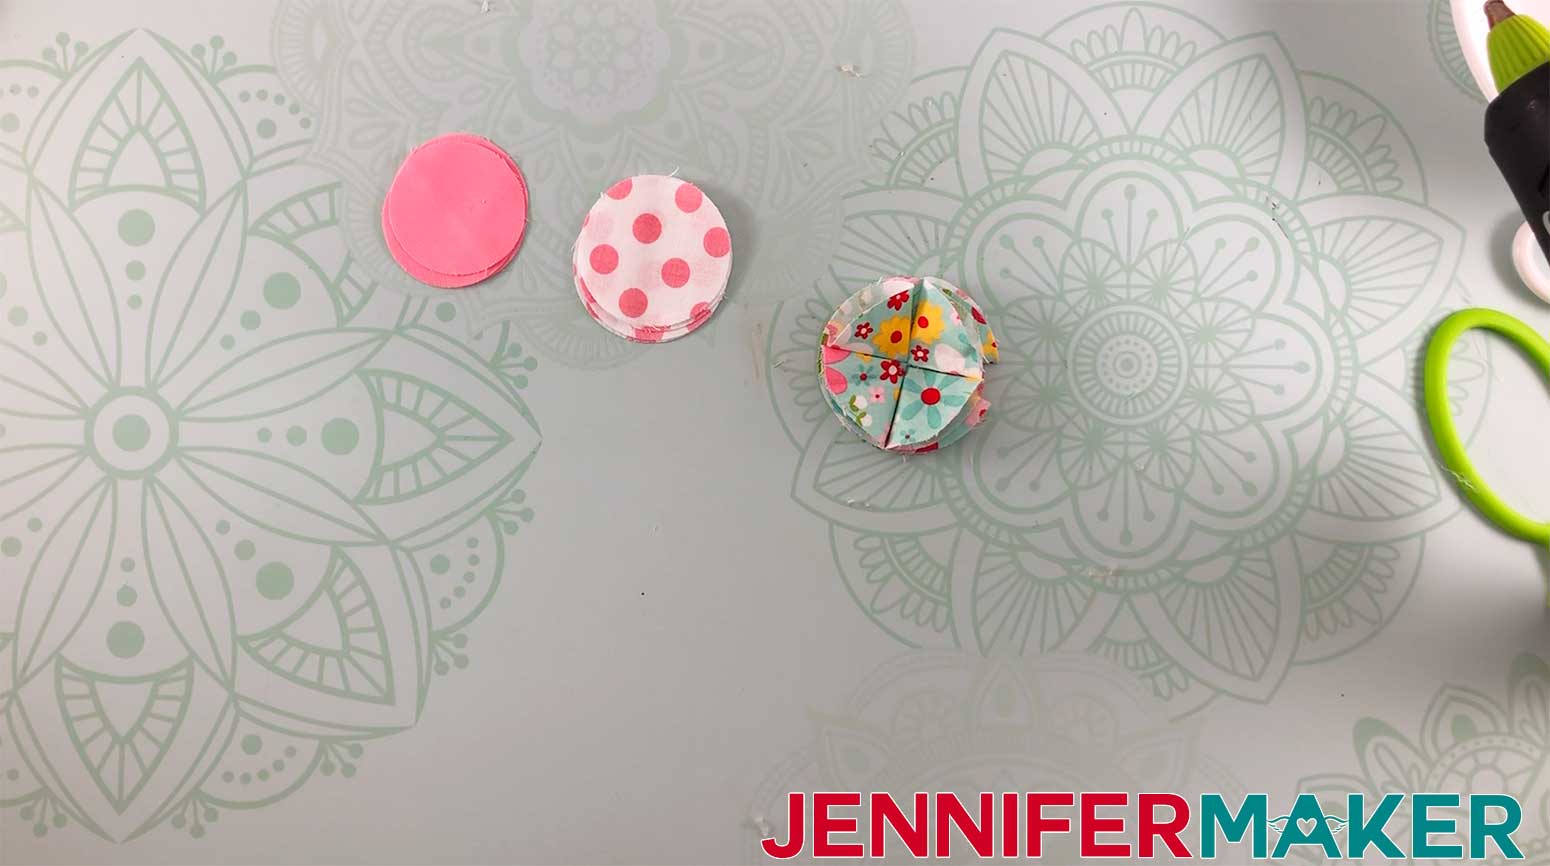
For the adjacent layer, employ the side by side size circle. Assemble in the same fashion as the starting time row; notwithstanding, when assembling this layer, be sure to lay the pieces down by straddling the two pieces under information technology.
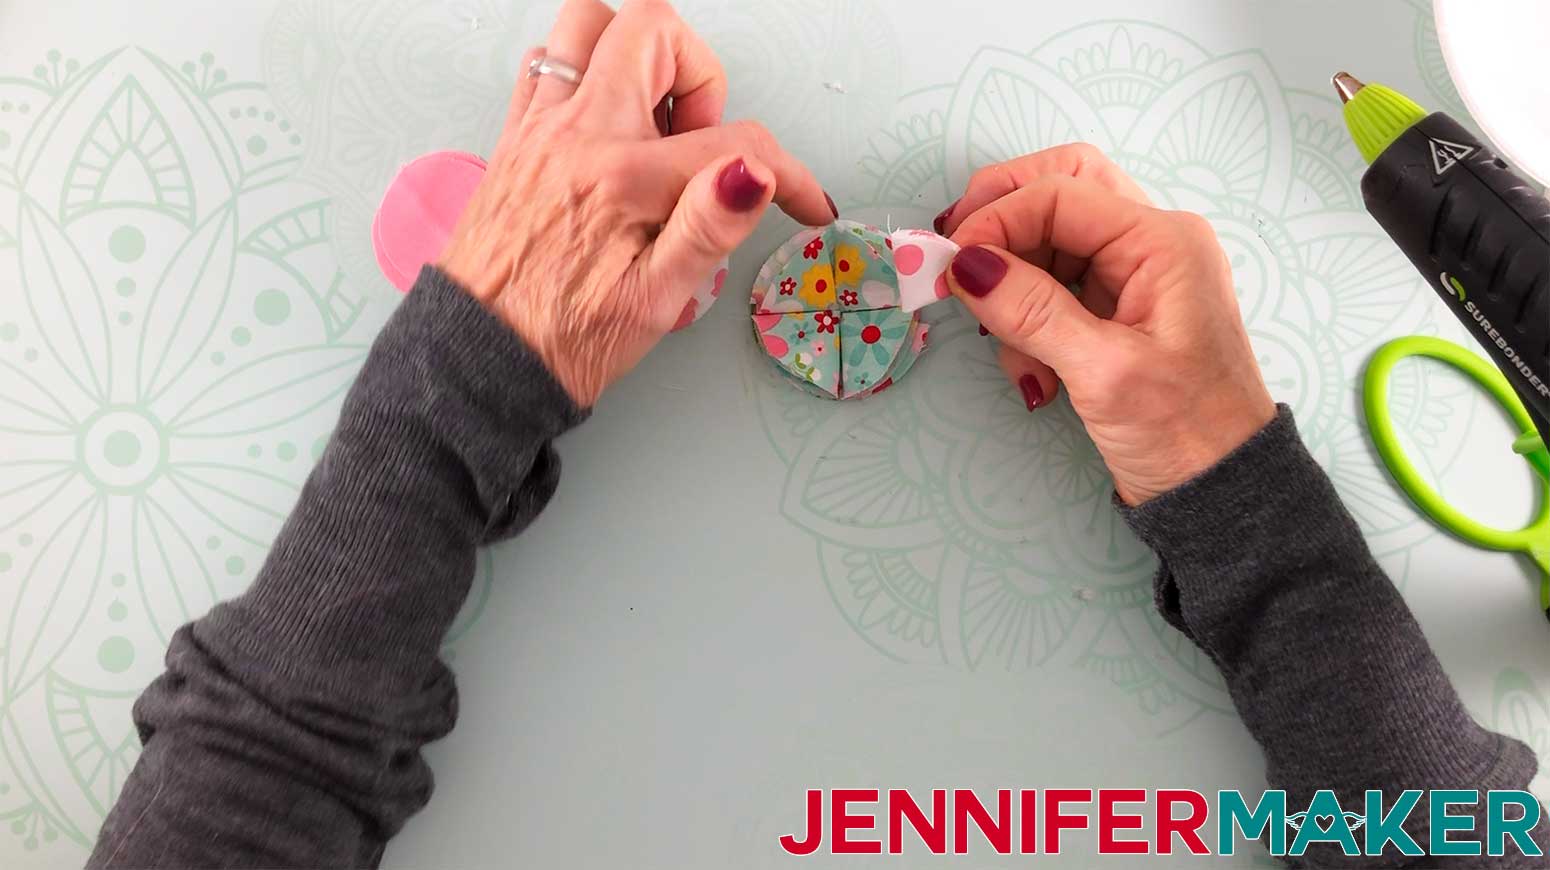
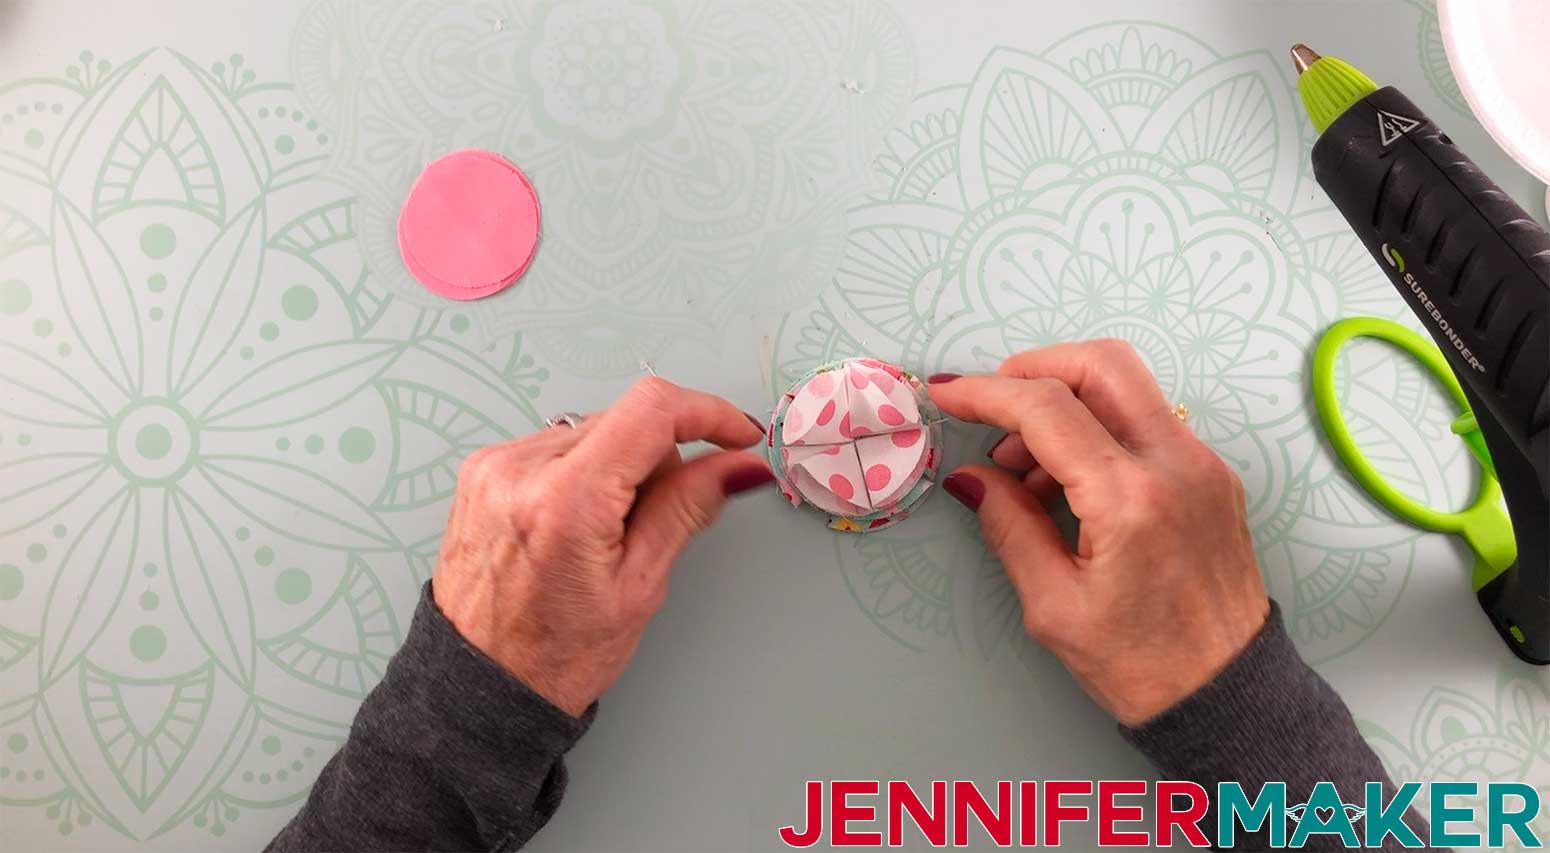
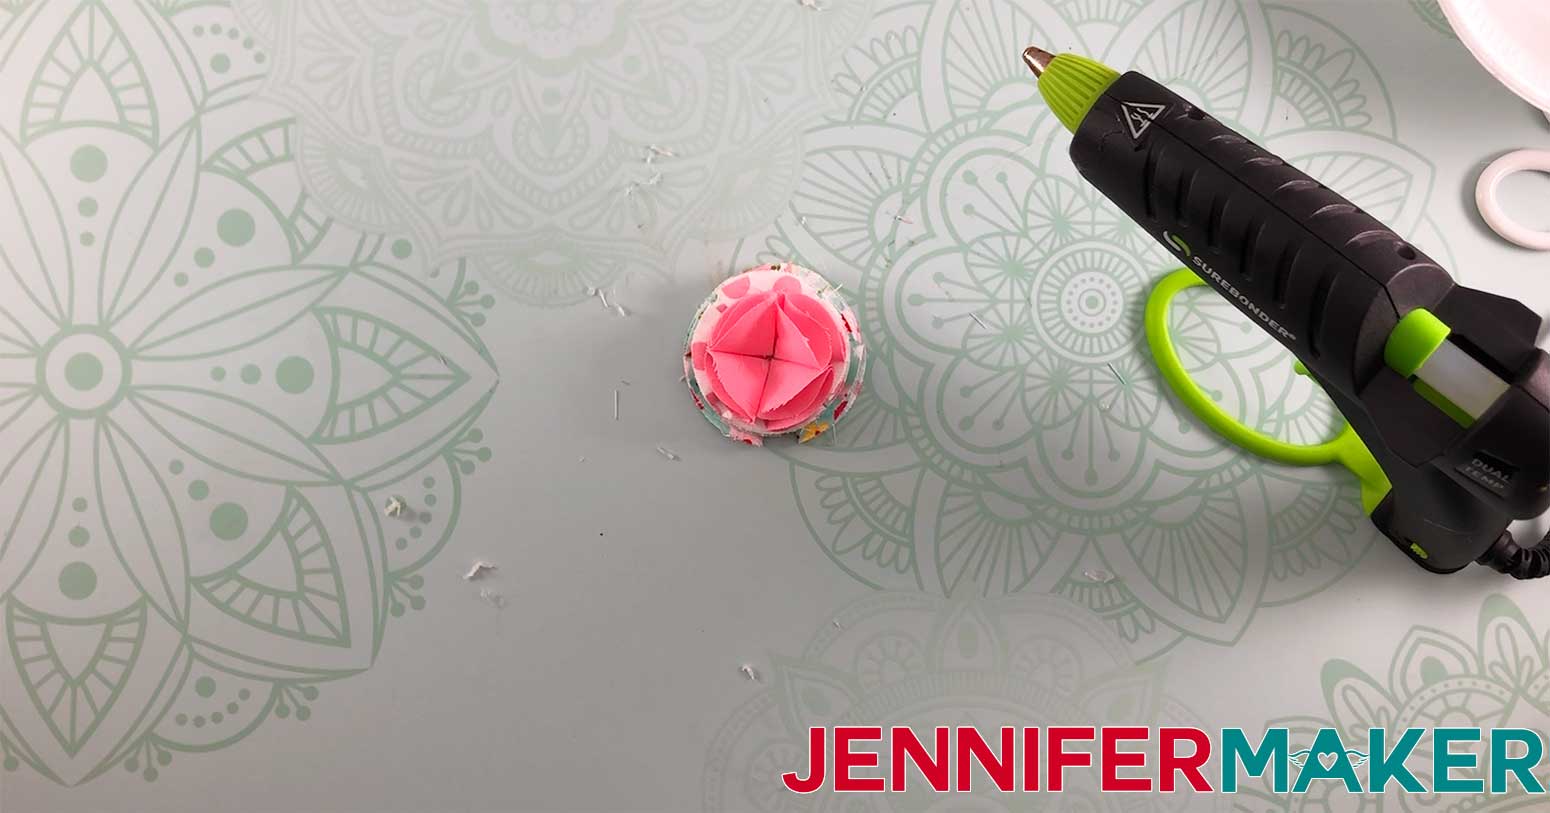
Once yous accept all 4 pieces of the second layer glued down, assemble the terminal layer in the same style as the second. Glue a hair clip onto the back of the bow and fluff up the bow.

Notes
ACKNOWLEDGMENTS
Special thanks to the JenniferMaker Blueprint Fairy Squad, specifically Design Fairy Vicki, for helping me design, assemble and make hair bows.
I dearest all of these hair bows. I think the mermaid tail is my favorite, though. It's just SO sugariness.
Need more projects for today's theme?
Today'southward MAKE Information technology EASY Craftalong Challenge is to Have A Bow! If you are looking for other ideas, nosotros take you covered!
-
-
-
- How to Make Larger than Mat Cardstock Cutouts: Baby Yoda is Off the Mat!
- Brand Gift Bows From Paper
- DIY Mouse Ears Tutorial Sew or No-Sew!
- DIY Minnie Mouse Boom Tips
- Souvenir Box Templates
- Super Easy Vintage-Mode Dresses
- DIY Funny Socks with Saying
- DIY False Leather Earrings
- Cricut Wood Veneer Earrings
- Piece of cake Felt Sunflowers (And My Cricut Dress!)
- Bleach Stencil Shirt
- Easy Iron-On T-Shirts!
- Cricut Infusible Ink Layered T-Shirt
- Print So Cut Transfer T-Shirts
-
-
Get my free SVG files to make hair bows in cute designs!
Did you make hair bows? We want to run into them! Please share a photograph in our Facebook group or tag me on social media with #jennifermaker.
This project is a part of our Make it Easy Craftalong Claiming with fun and Easy projects you tin can do to learn how to use your Cricut! Y'all can share your photos in our daily challenge theme thread here!
Beloved,

Want to think this? Salvage this Easy Hair Bow tutorial to your favorite Pinterest Board
Reader Interactions
Success! Now check your e-mail to confirm your subscription to the xxx-Day Craft Room Organization Challenge.

Source: https://jennifermaker.com/make-hair-bows/
Posted by: shrumofflas.blogspot.com
0 Response to "How To Make Window Clings Stick Again"
Post a Comment